

Overview
The Triggers tab lets you create automated actions that fire based on visitor behavior. When a visitor meets specific conditions — time on page, scroll depth, UTM source, device type, and more — the trigger displays a modal popup, toast notification, or redirects to a URL. Triggers are a powerful way to engage visitors at the right moment without any coding.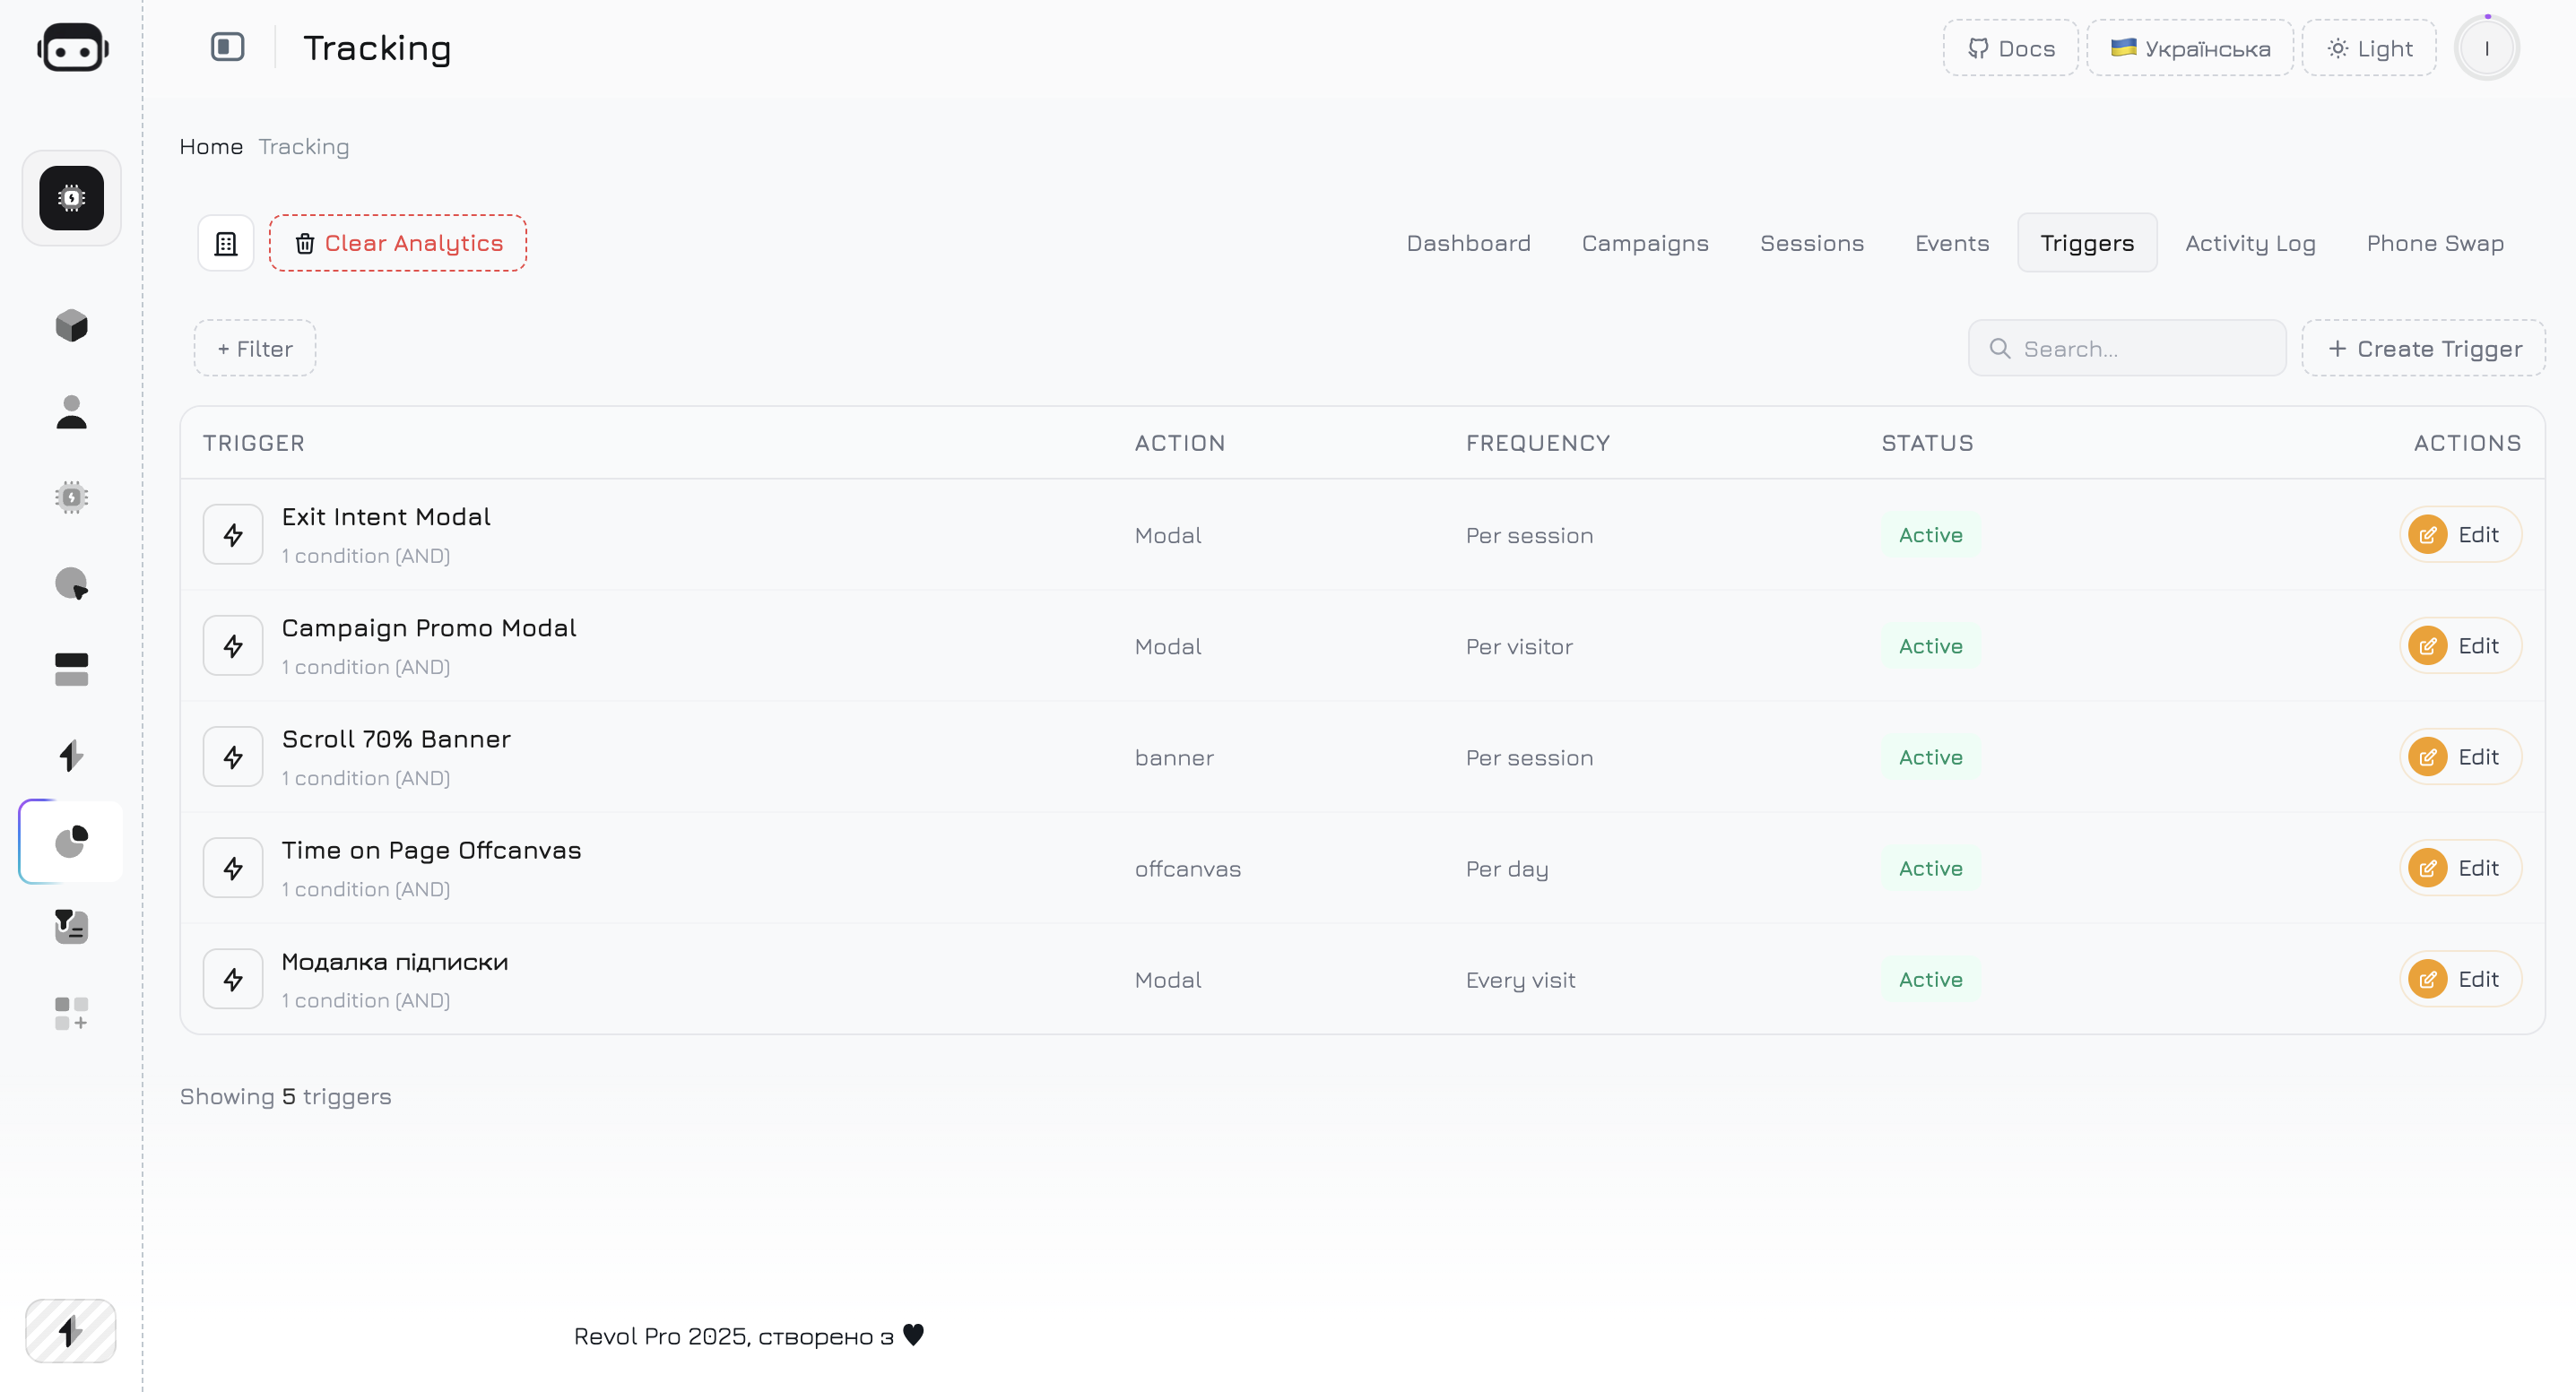
Triggers List
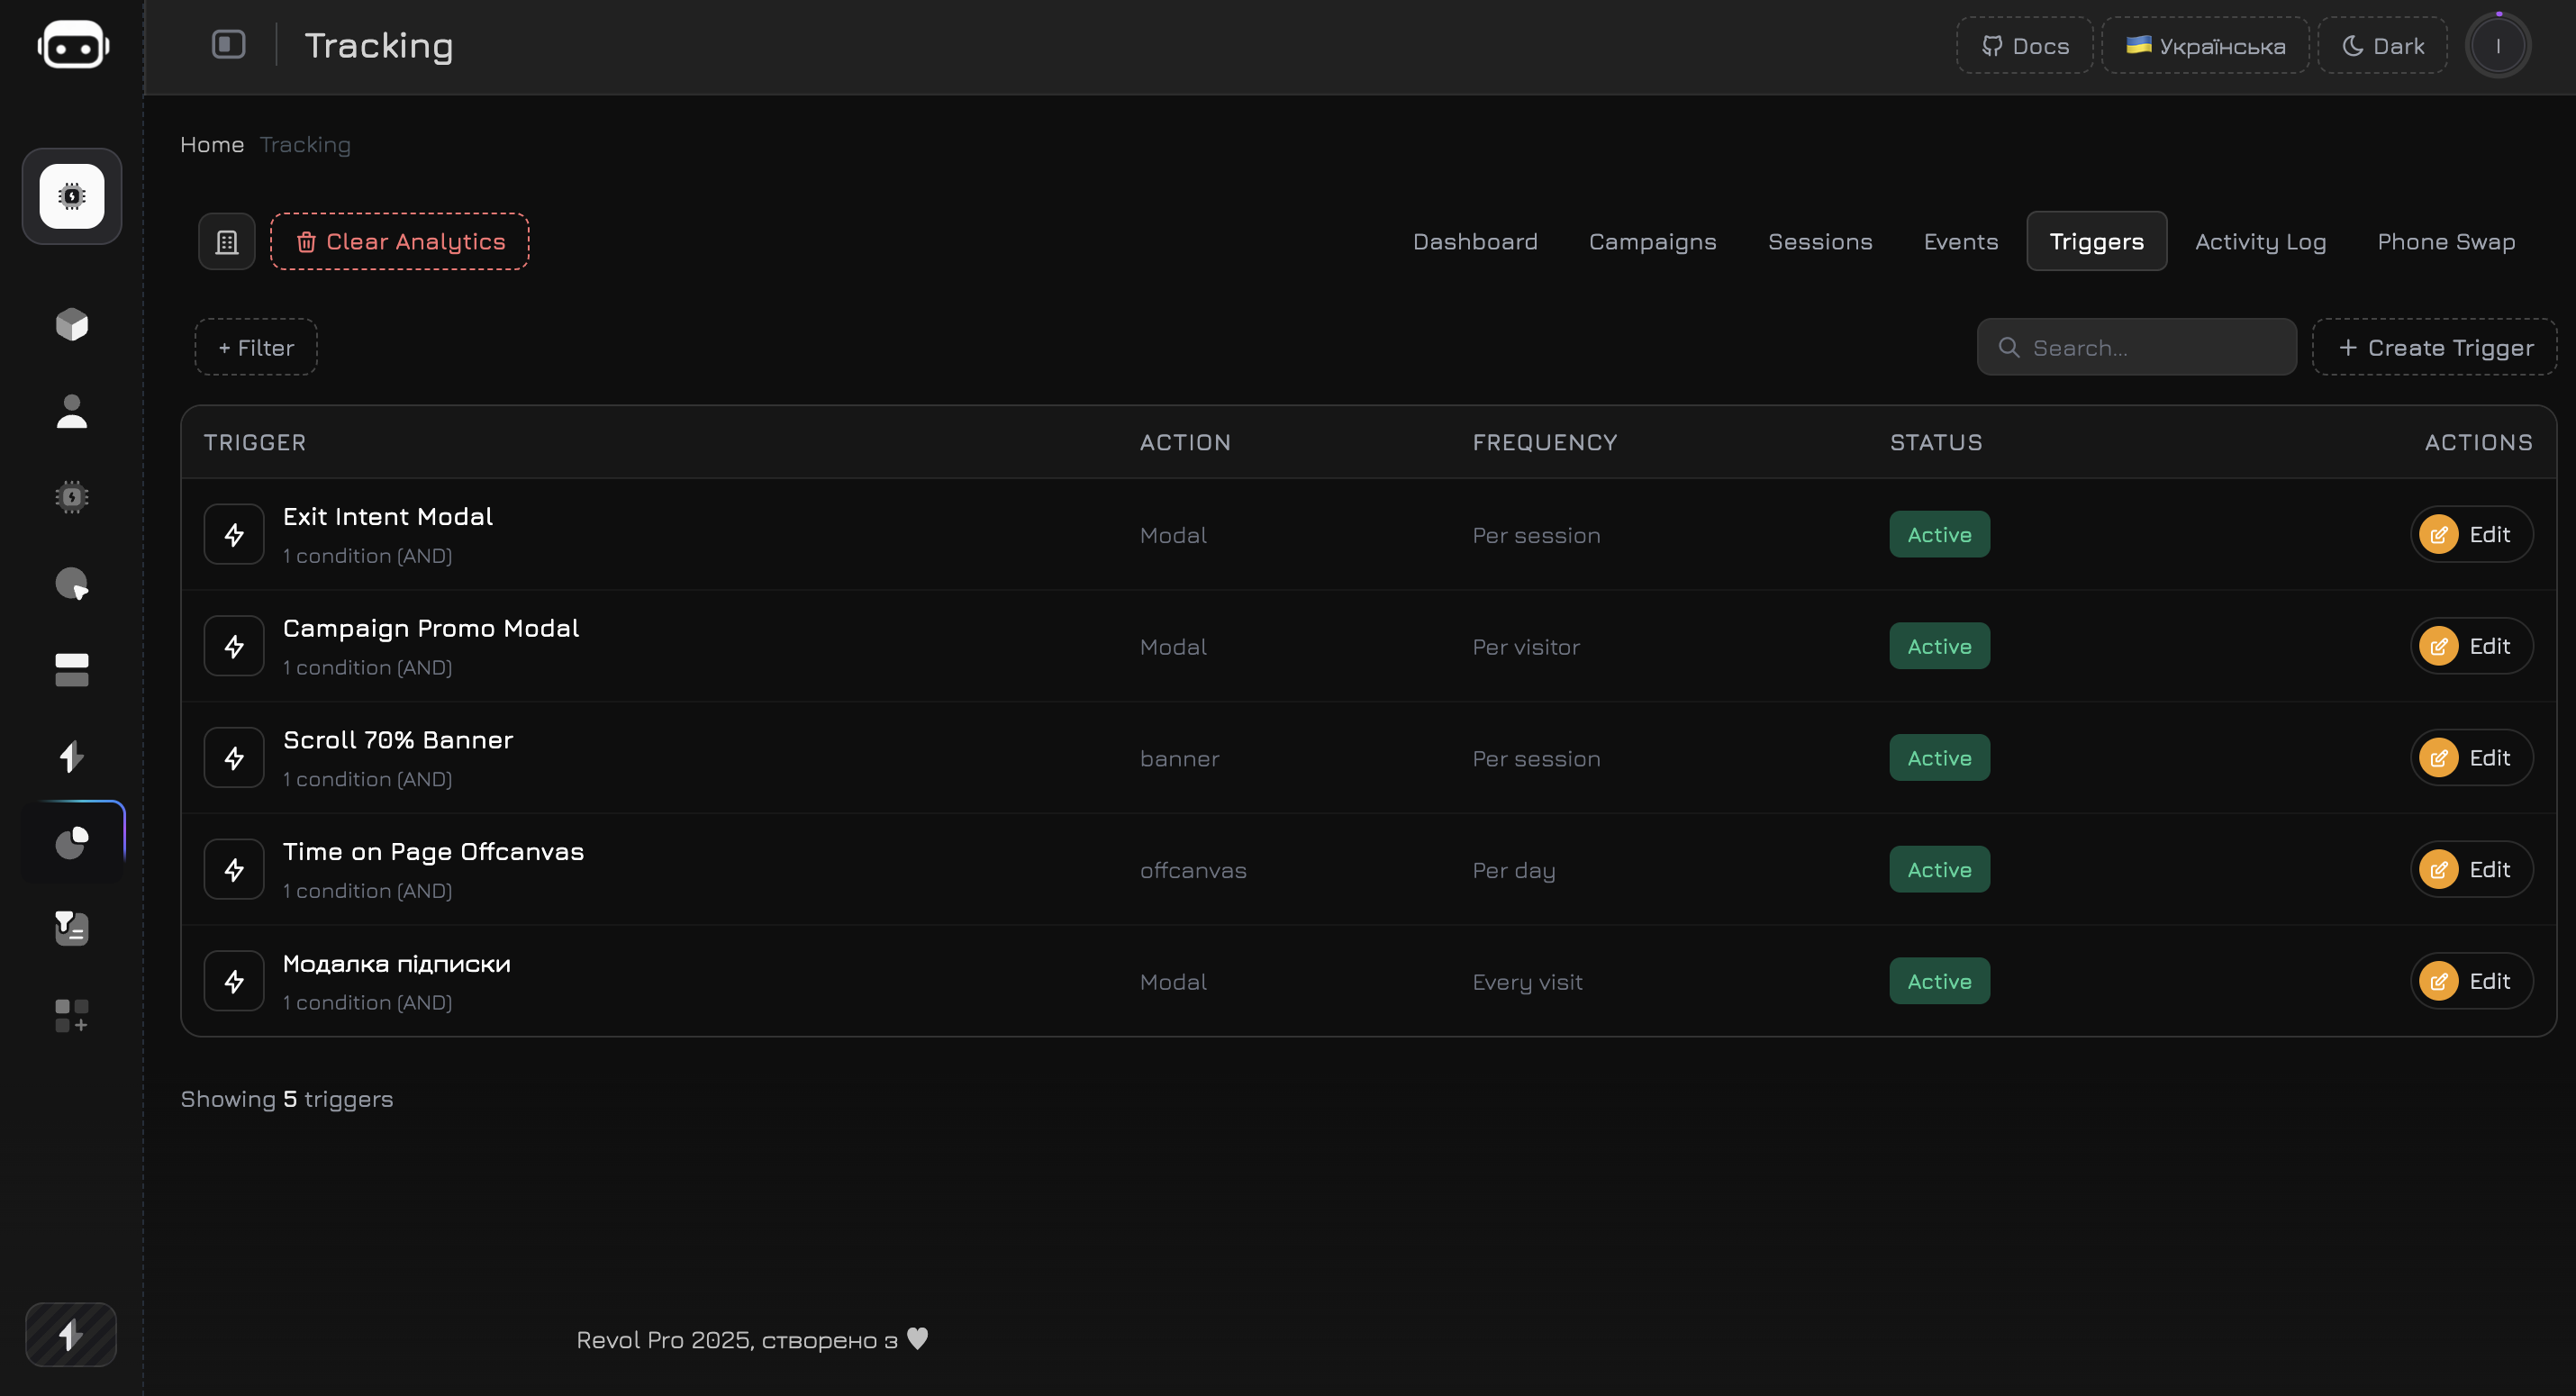
The triggers table shows all defined triggers with key metrics:Creating a Trigger
Click Create Trigger to open the trigger editor. The editor has two tabs: Content for visual content and Settings for behavior rules.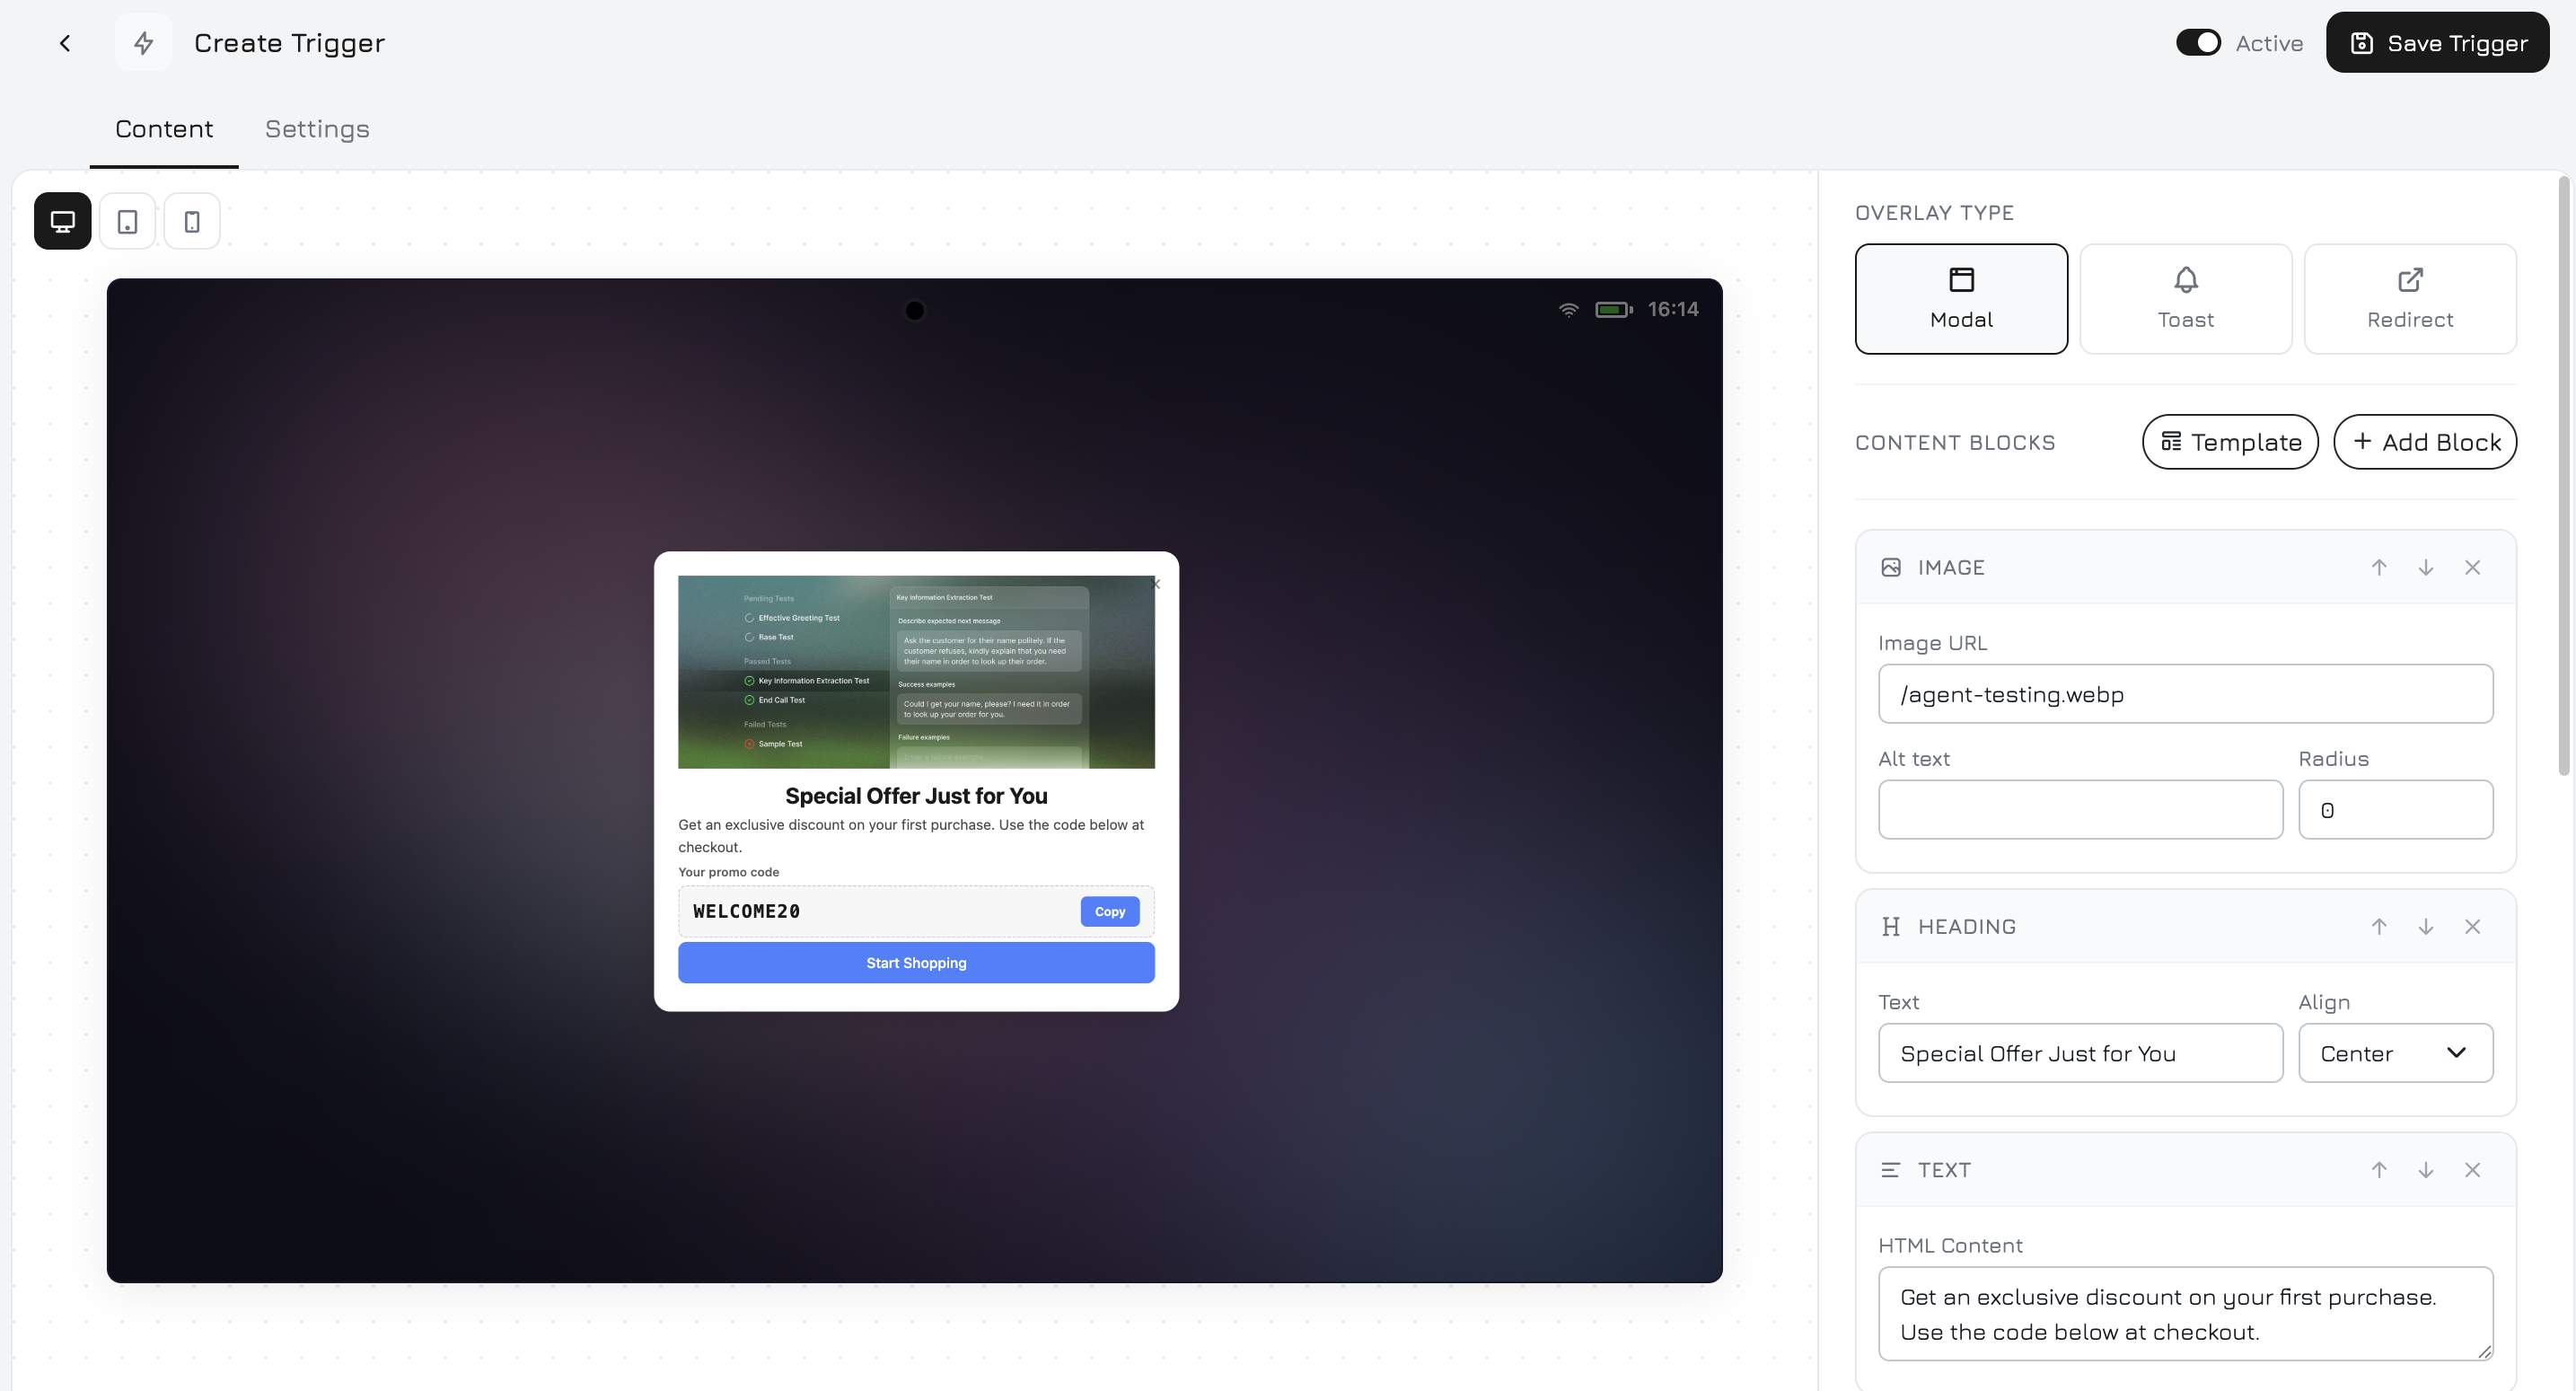
Content Tab
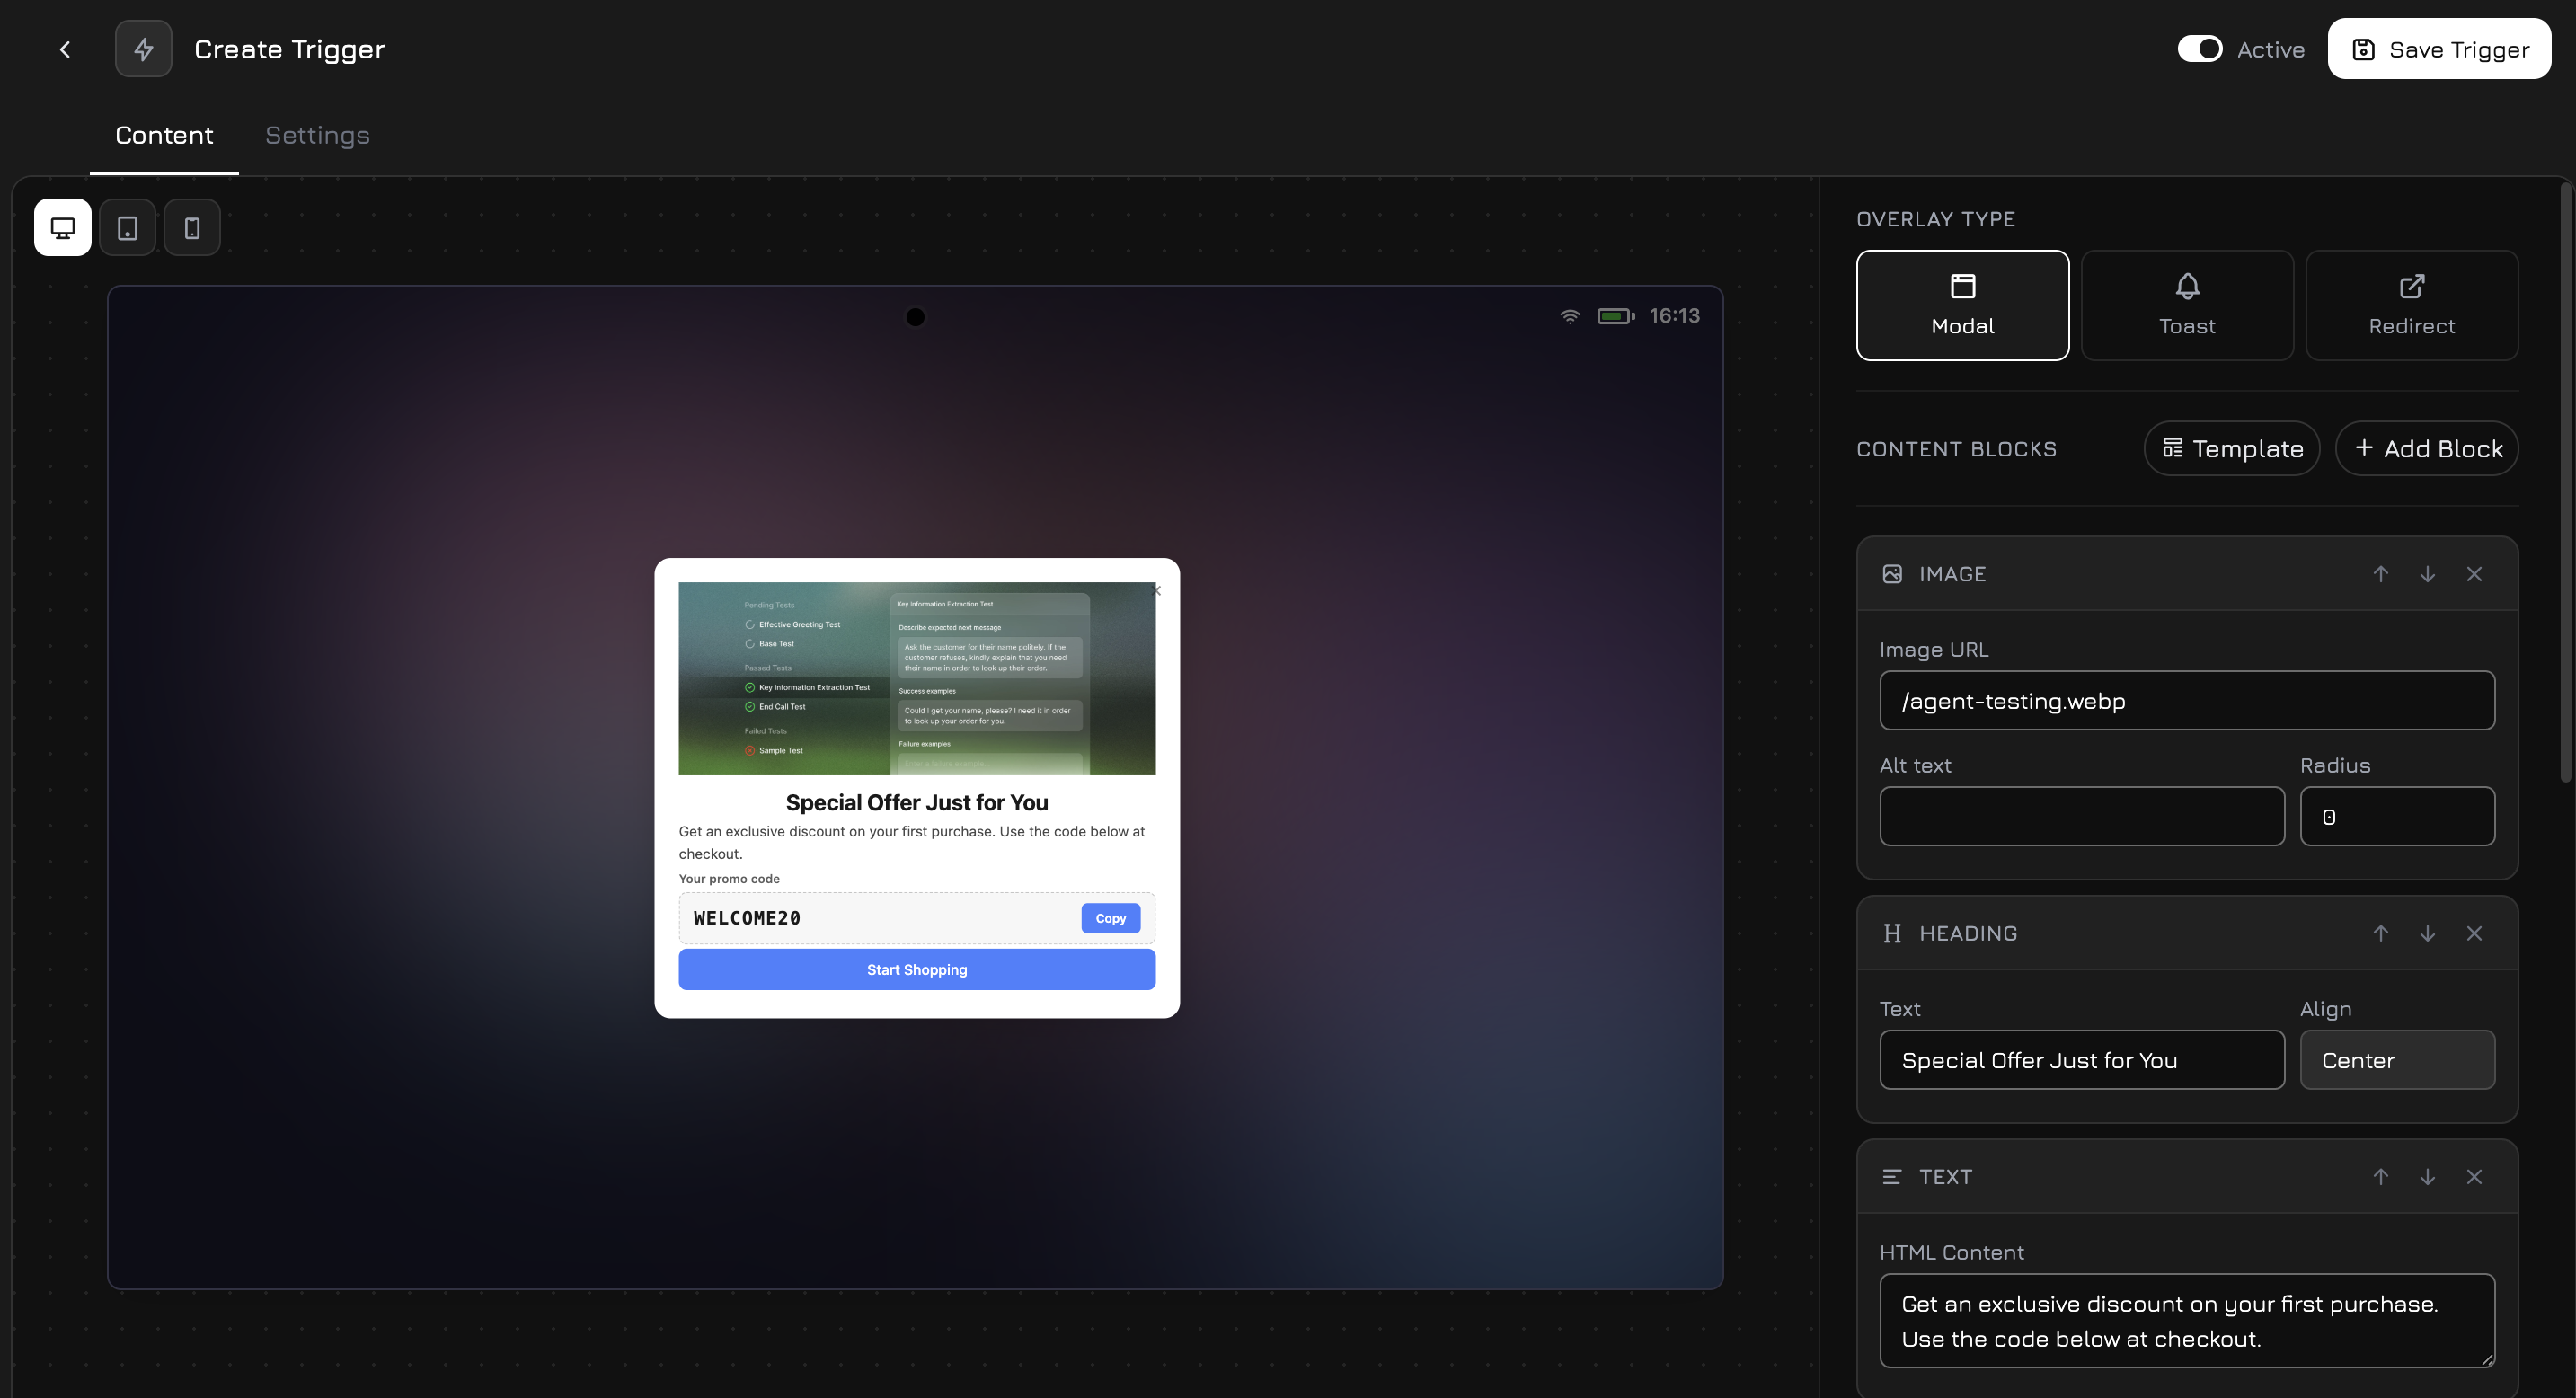
The Content tab is a visual block editor where you build the trigger’s content. Each trigger is composed of content blocks that you add, arrange, and style.Adding Blocks
Click the + Add Block button to open the block picker. Available block types:Block Settings
Each block type has its own editable properties. Click a block to select it and configure: Image:
Heading:
Text:
Feature List:
Input Field:
Textarea:
Button:
Promo Code:
QR Code:
Divider:
No settings — renders a horizontal line separator.
Trigger Style
The trigger container has global style settings that apply to the entire popup/toast:Content Examples
Welcome discount popup
Welcome discount popup
- Heading: “Get 10% Off Your First Order”
- Text: “Subscribe to our newsletter and receive an exclusive discount code.”
- Input Field: Email
- Button: “Get My Discount” (submit action)
- Promo Code: Revealed after form submission
Exit intent offer
Exit intent offer
- Image: Product photo
- Heading: “Wait! Don’t miss this.”
- Text: “Free shipping on orders over $50 — today only.”
- Button: “Shop Now” (link to store)
- Button: “No thanks” (close action)
QR code for mobile continuation
QR code for mobile continuation
- Heading: “Continue on your phone”
- Text: “Scan the QR code to chat with our AI agent on mobile.”
- QR Code: Campaign QR code with UTM tracking
- Text: “Or click the chat button below.”
Feature announcement
Feature announcement
- Image: Feature screenshot
- Heading: “New: AI-Powered Recommendations”
- Feature List: 3-4 key benefits
- Button: “Learn More” (link to feature page)
- Divider
- Text: Small print disclaimer
Settings Tab
The Settings tab controls when, how often, and to whom the trigger is shown.Conditions
Conditions define the rules that must be met for the trigger to fire. You can add multiple conditions and choose the logic mode: AND (all conditions must be true) or OR (any condition is enough) for the trigger to activate.Condition Examples
- Engaged reader
- Paid traffic offer
- Cart abandonment
- Business hours only
Show a newsletter popup to visitors who are actively reading:
Frequency
Controls how often the trigger is shown to the same visitor:Schedule
Optionally restrict the trigger to a specific date and time range:
Both fields are optional:
- Start only — the trigger activates on the start date and runs indefinitely
- End only — the trigger runs immediately and stops on the end date
- Both — the trigger runs only during the specified window
- Neither — the trigger runs as long as it’s enabled
How Triggers Work
When the tracker script loads on your website, it fetches the active trigger definitions and evaluates them in the background:1
Active triggers are loaded
The tracker fetches active trigger definitions from the server. The server filters by schedule (start/end dates) and active status before sending them to the client.
2
Frequency is checked
Every 2 seconds, the tracker checks each trigger’s frequency setting. If the visitor has already seen the trigger (based on localStorage or sessionStorage), the trigger is skipped.
3
Conditions are evaluated
For triggers that pass the frequency check, the tracker evaluates all conditions — time on page, scroll depth, UTM parameters, device type, fired events, and more. Conditions use AND or OR logic depending on configuration.
4
Trigger is displayed
The trigger content (modal or toast) is rendered on the page inside a Shadow DOM with the configured styling and animation. The activation is recorded as a
trigger_shown event. For redirect triggers, the visitor is navigated to the target URL.5
Visitor interacts
The visitor can interact with the trigger — click buttons, fill in fields, copy promo codes, scan QR codes, or close it. Each interaction is tracked as a separate event (
trigger_clicked, trigger_dismissed, trigger_promo_copied).Triggers are rendered inside their own Shadow DOM container, so their styles are fully isolated from your website. No CSS conflicts.
Triggers and Events Integration
Triggers create tracking events automatically. Every trigger activation is recorded as atrigger_shown event with the trigger ID and action type. You can:
- See trigger activity in the Trigger Activity chart on the Dashboard
- View trigger activations in the Campaign Performance table
- Use the
event_firedcondition to chain triggers — e.g., show Trigger B only after Trigger A was seen - Combine with Custom Events for complex flows