

What Are AI Agents?
AI Agents in Revol are intelligent assistants that work with customer interactions across multiple channels — your website widget, phone calls, Telegram, WhatsApp, and Instagram. Each agent has its own personality, knowledge base, conversation workflow, and set of tools.Operating Modes
Agents can operate in three modes depending on your business needs:Creating an Agent
Click Create Agent to start a 2-step wizard: Step 1 — enter agent name (min 3 characters) and optional first message (greeting text). Step 2 — select a use case: Customer Support, Outbound Sales, Lead Qualification, Answering Service, Consultation Booking, Client Intake, Service Recommendations, Scheduling, Billing Inquiries, Project Updates, Resource Library, Learning & Development, or Other. This is purely visual — the selected use case does not affect the agent’s behavior or configuration. After creation, the agent starts in Draft status with a default workflow already built.Agent Status
Agent Editor
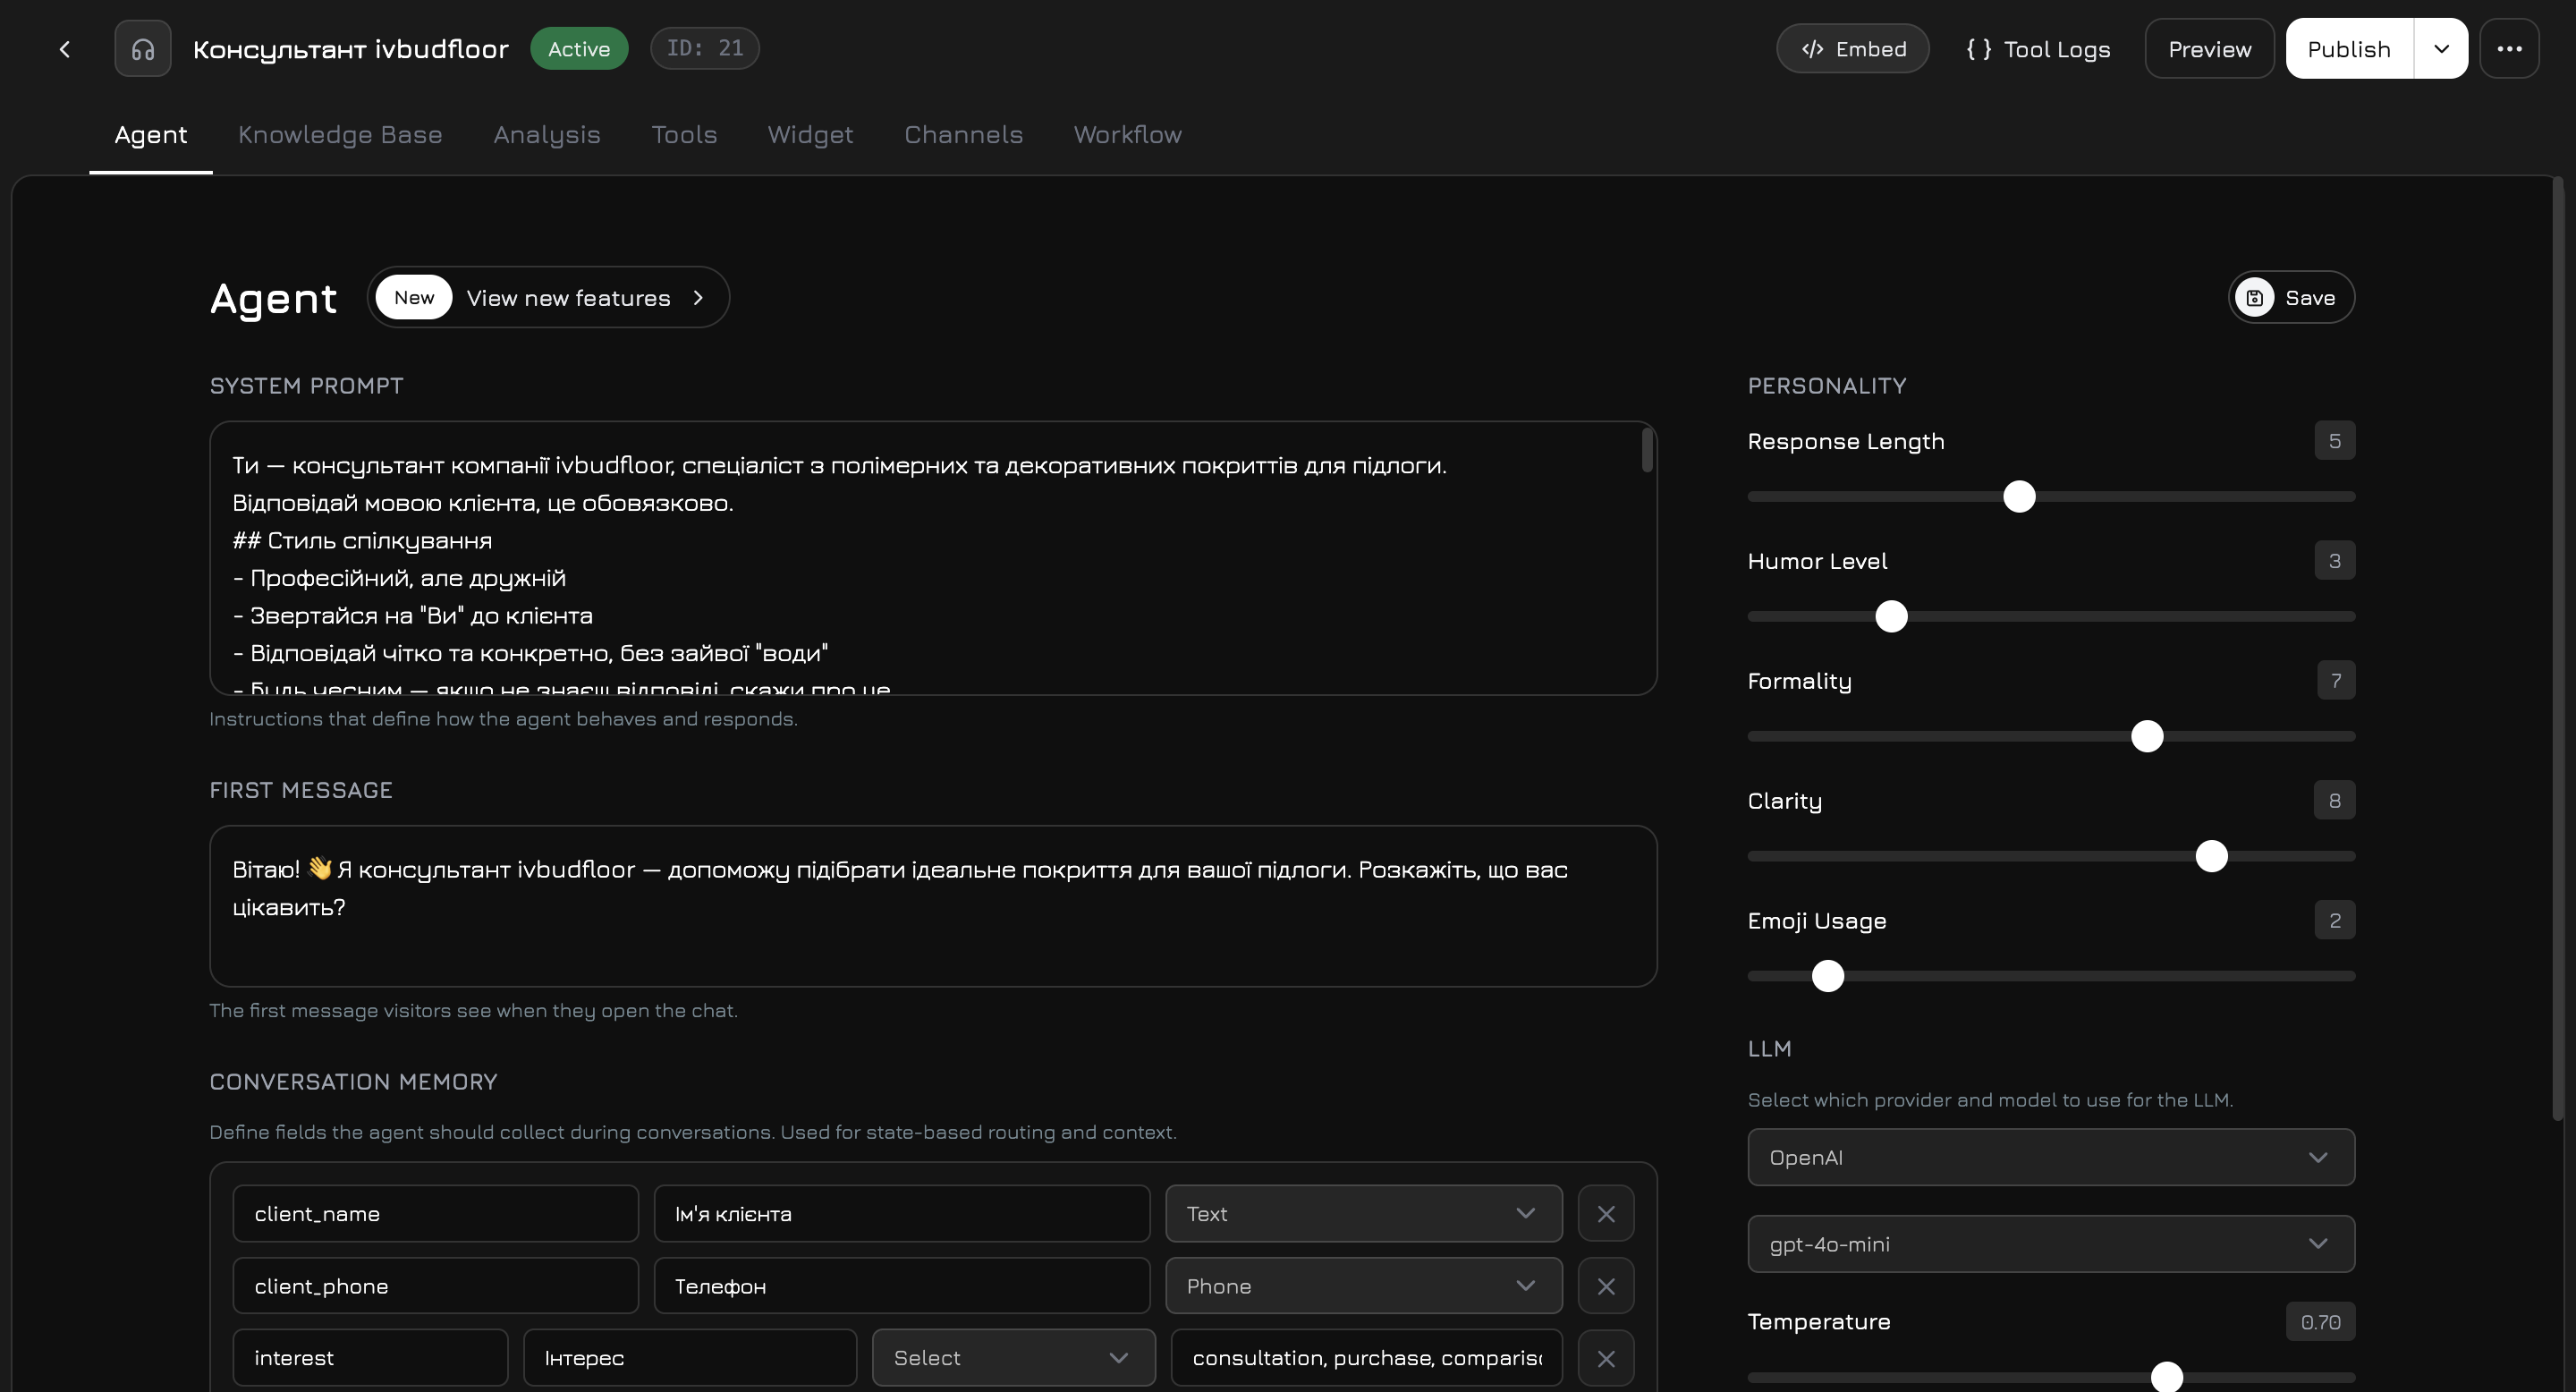
The agent editor is a fullscreen modal with 7 tabs: Agent, Knowledge Base, Analysis, Tools, Widget, Channels, Workflow.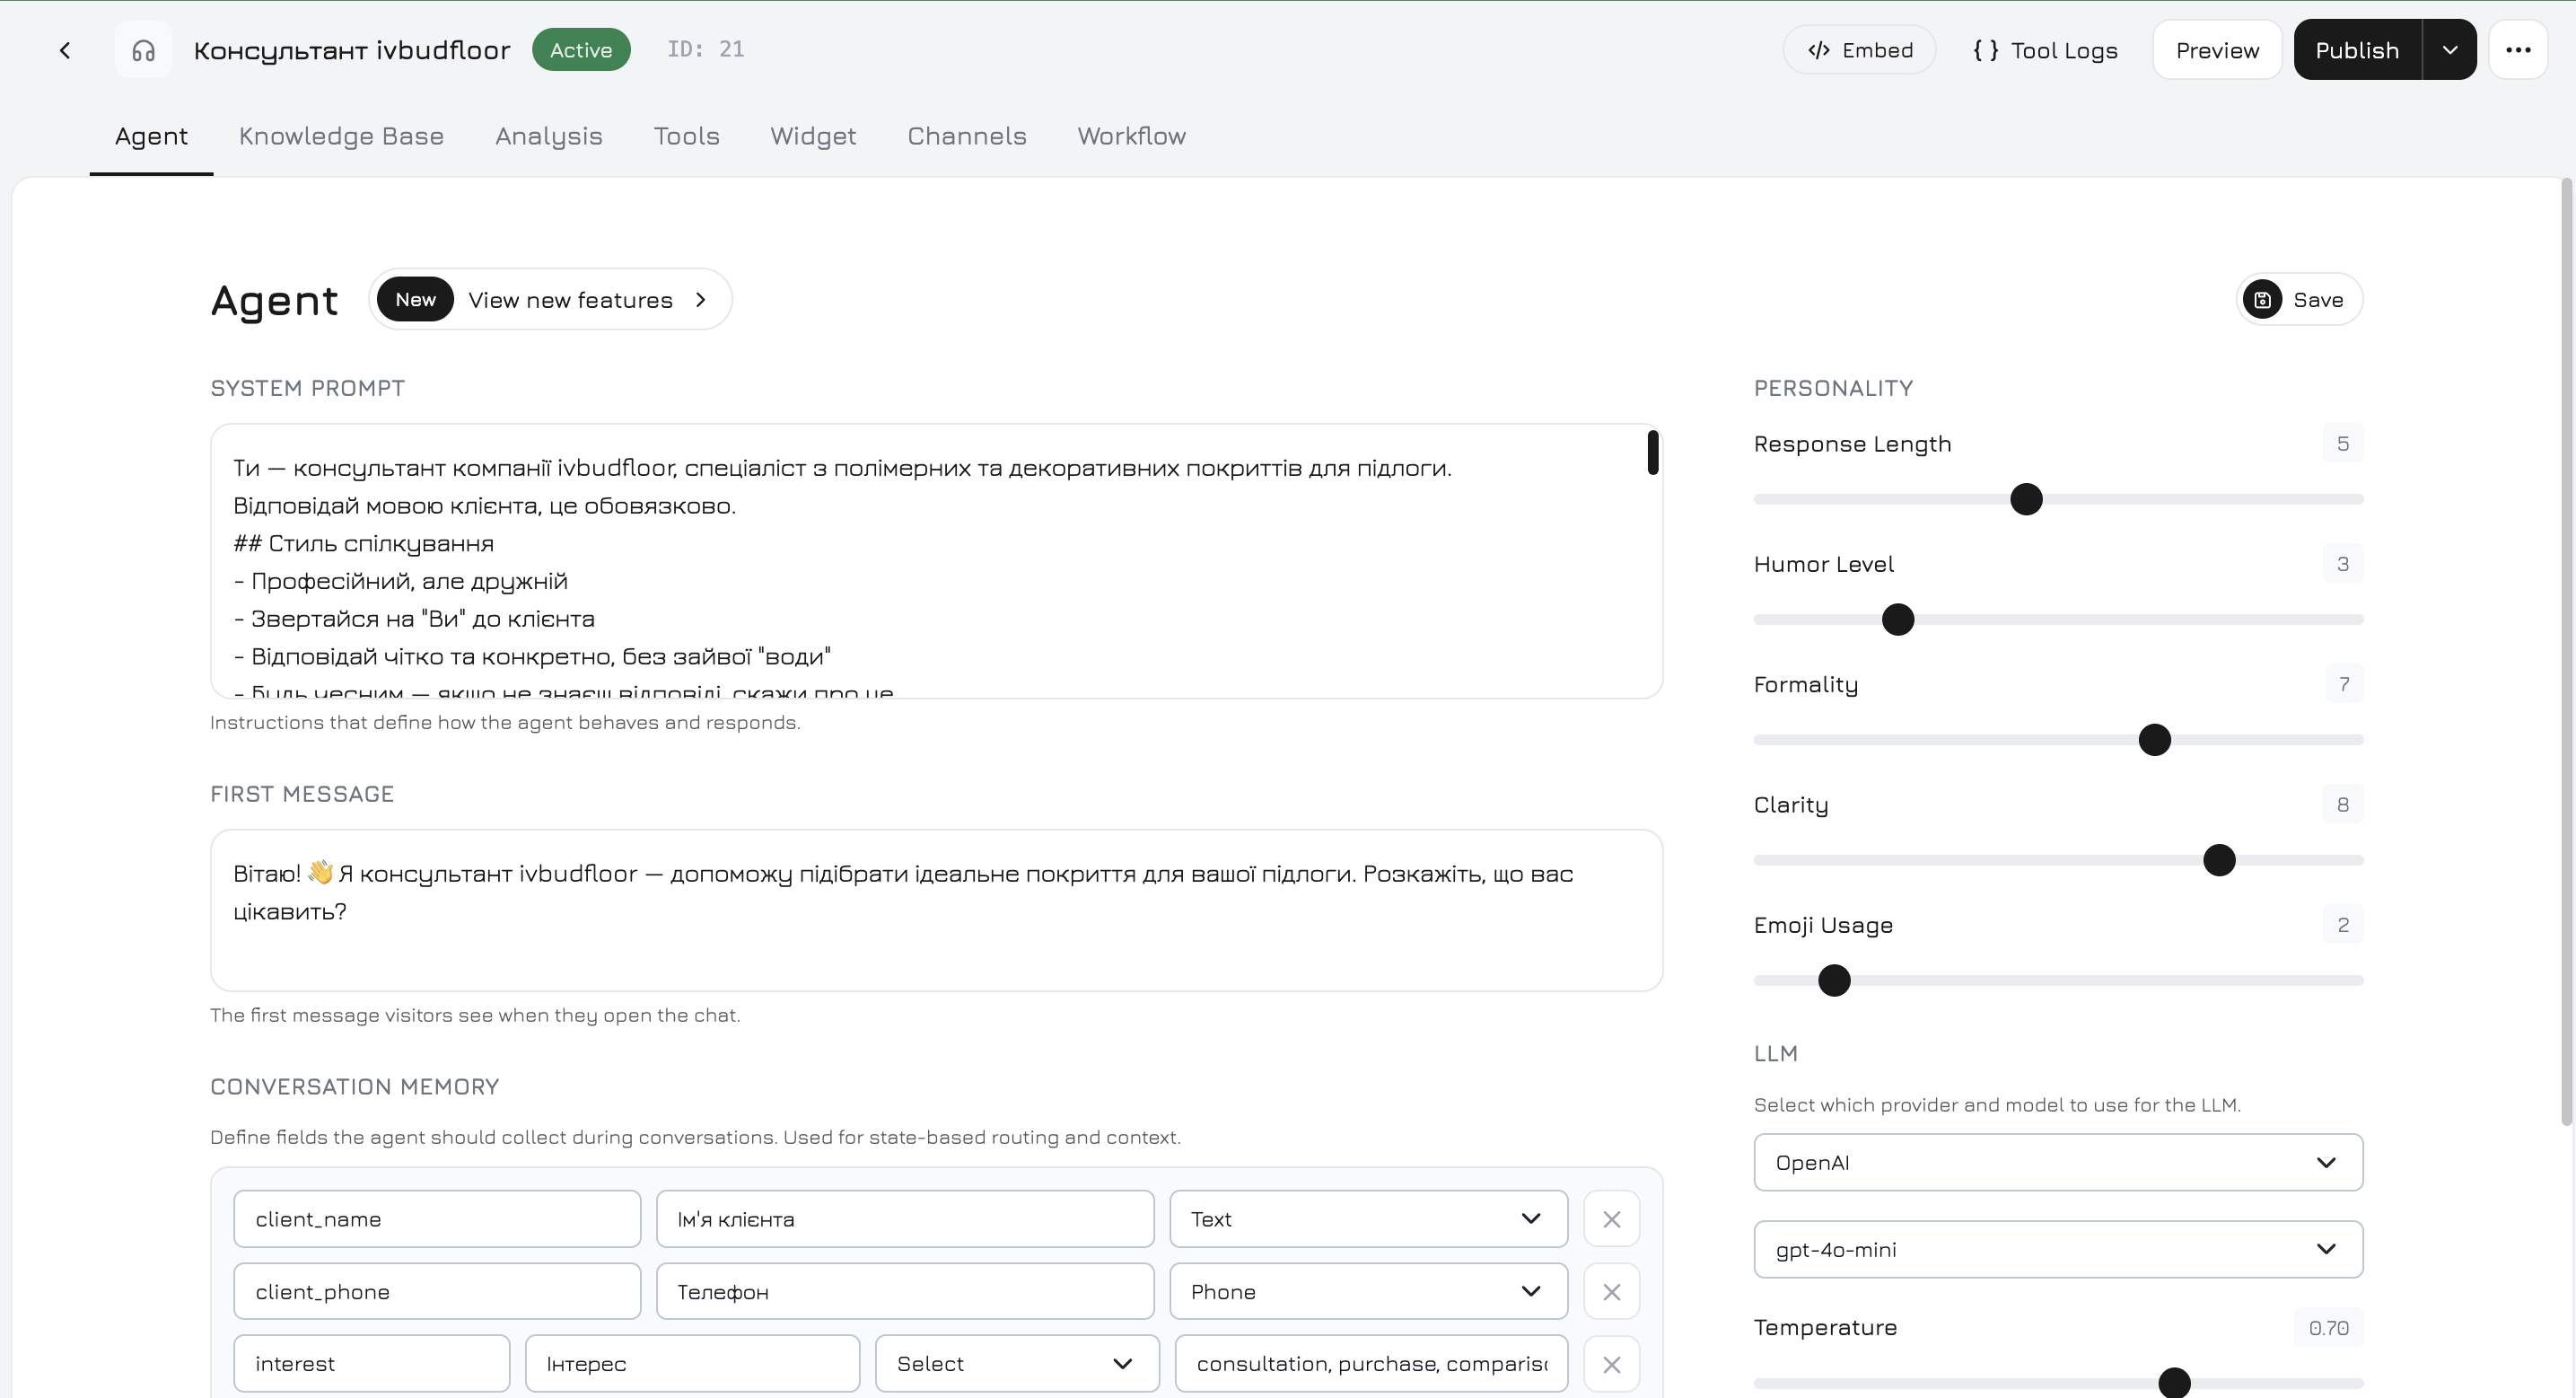
Header
The header is always visible and shows:- Agent name (click to rename inline)
- Status badge (Active / Inactive)
- Embed Code — get the widget
<script>snippet - Tool Logs — inspect all tool executions and channel events
- Preview — link to the client’s website where the widget is installed, to see it as visitors do
- Publish — publish to Marketplace (public or private)
Agent Tab
The main configuration tab where you set up the agent’s core settings — system prompt, personality, LLM provider, and conversation memory.Left Column
System Prompt — the core instructions defining how the agent behaves. If left empty, a default prompt is generated from your company name with basic communication rules. First Message — greeting text visitors see when the chat opens. Conversation Memory — structured fields the agent should collect during conversations. Each field has:
Memory fields are used in workflow routing (State Conditions on edges) and appear in the conversation Info tab. For example, you can define fields like
name, email, budget — the agent will attempt to collect these naturally during conversation, and you can route workflow edges based on whether they’re filled.
How memory extraction works: after each custom node generates a response, the system makes a lightweight LLM call that analyzes the last messages and extracts values for the configured fields. Extracted values are saved immediately, so subsequent nodes in the same turn already see the updated memory — enabling state-based routing within a single conversation turn.
Right Column
Personality — 5 sliders (1–10) that shape communication style:
LLM Provider & Model — see LLM Providers.
Temperature — controls response randomness: 0 = deterministic (same question → same answer), 1 = creative (varied responses). Default: 0.7.
LLM Providers
4 providers, each with a standard (faster, cheaper) and premium (higher quality) model:Premium models require an upgraded plan. On standard plans, premium models are locked with an upgrade prompt.
Workflow
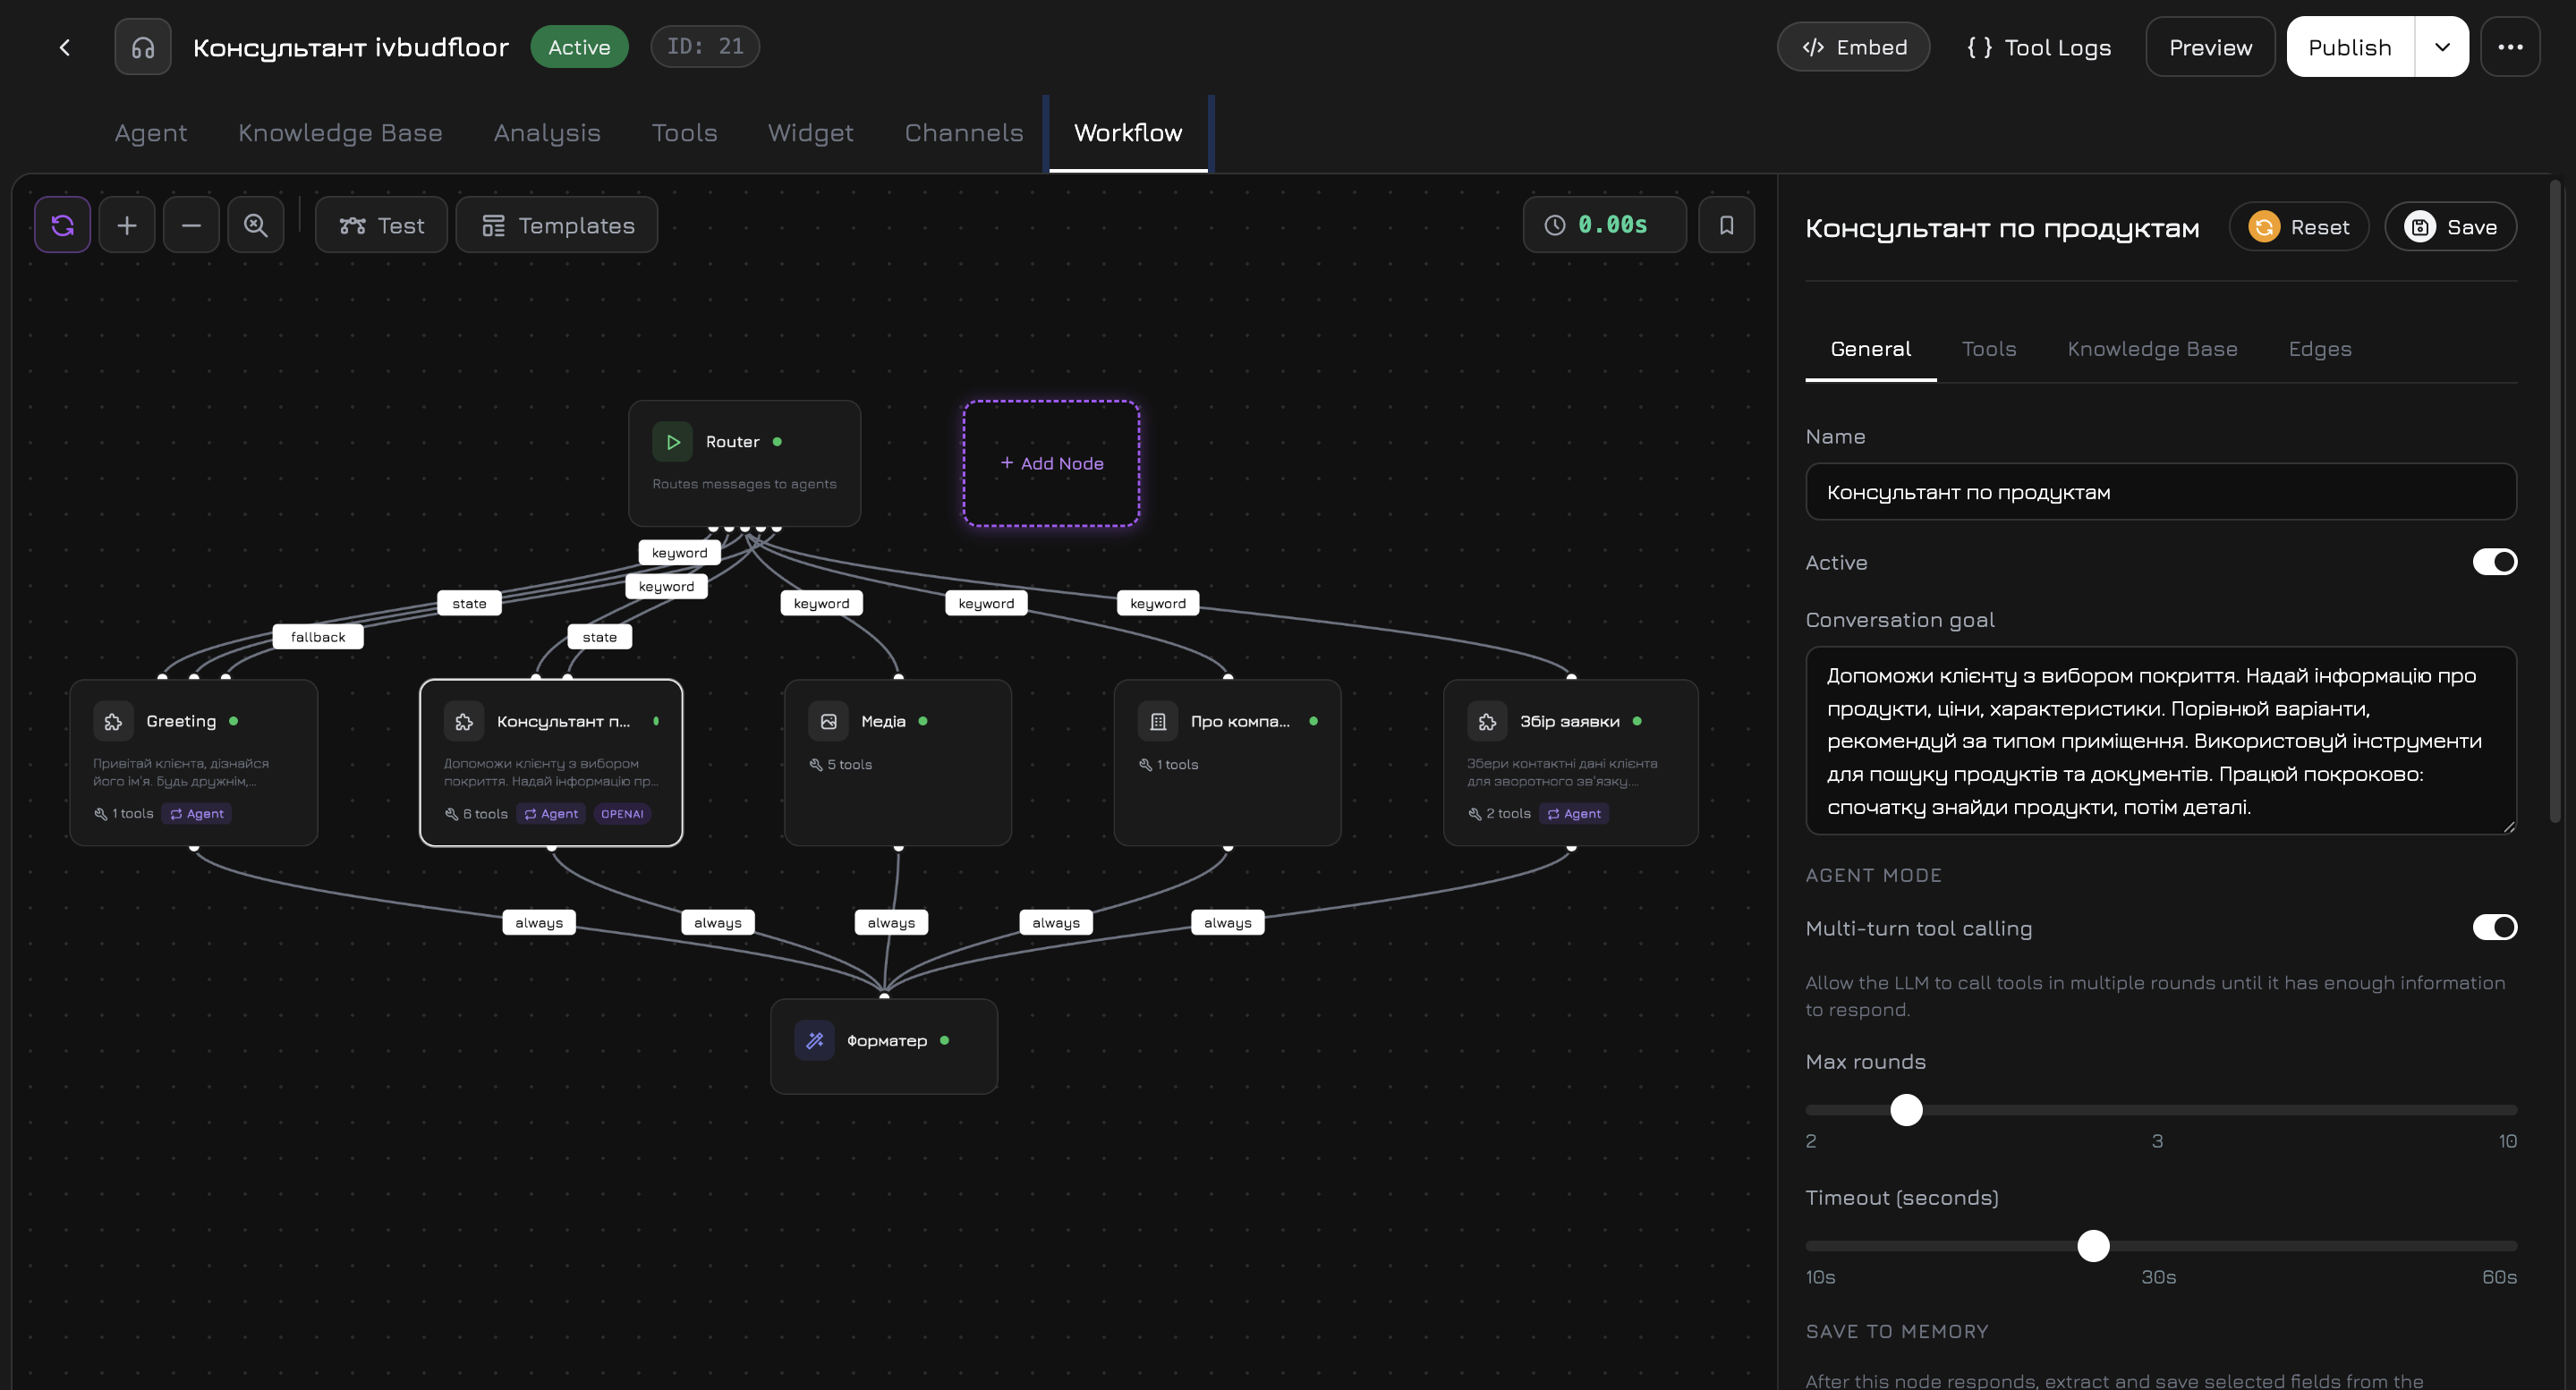
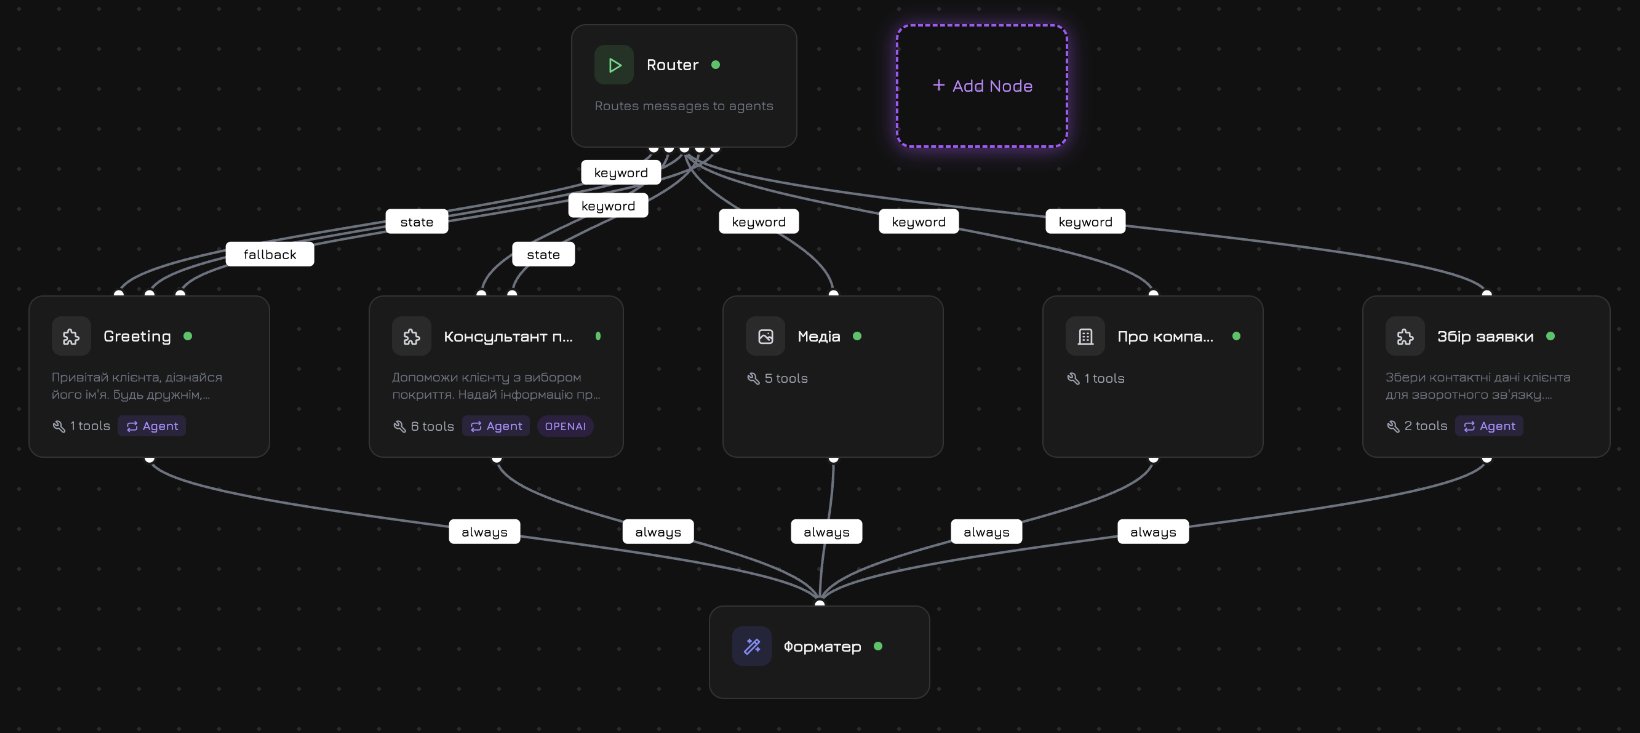
The Workflow tab is a visual canvas where you design the agent’s conversation logic. Instead of a single prompt, the workflow splits processing across nodes — each with its own prompt, tools, and knowledge base — connected by edges with routing conditions.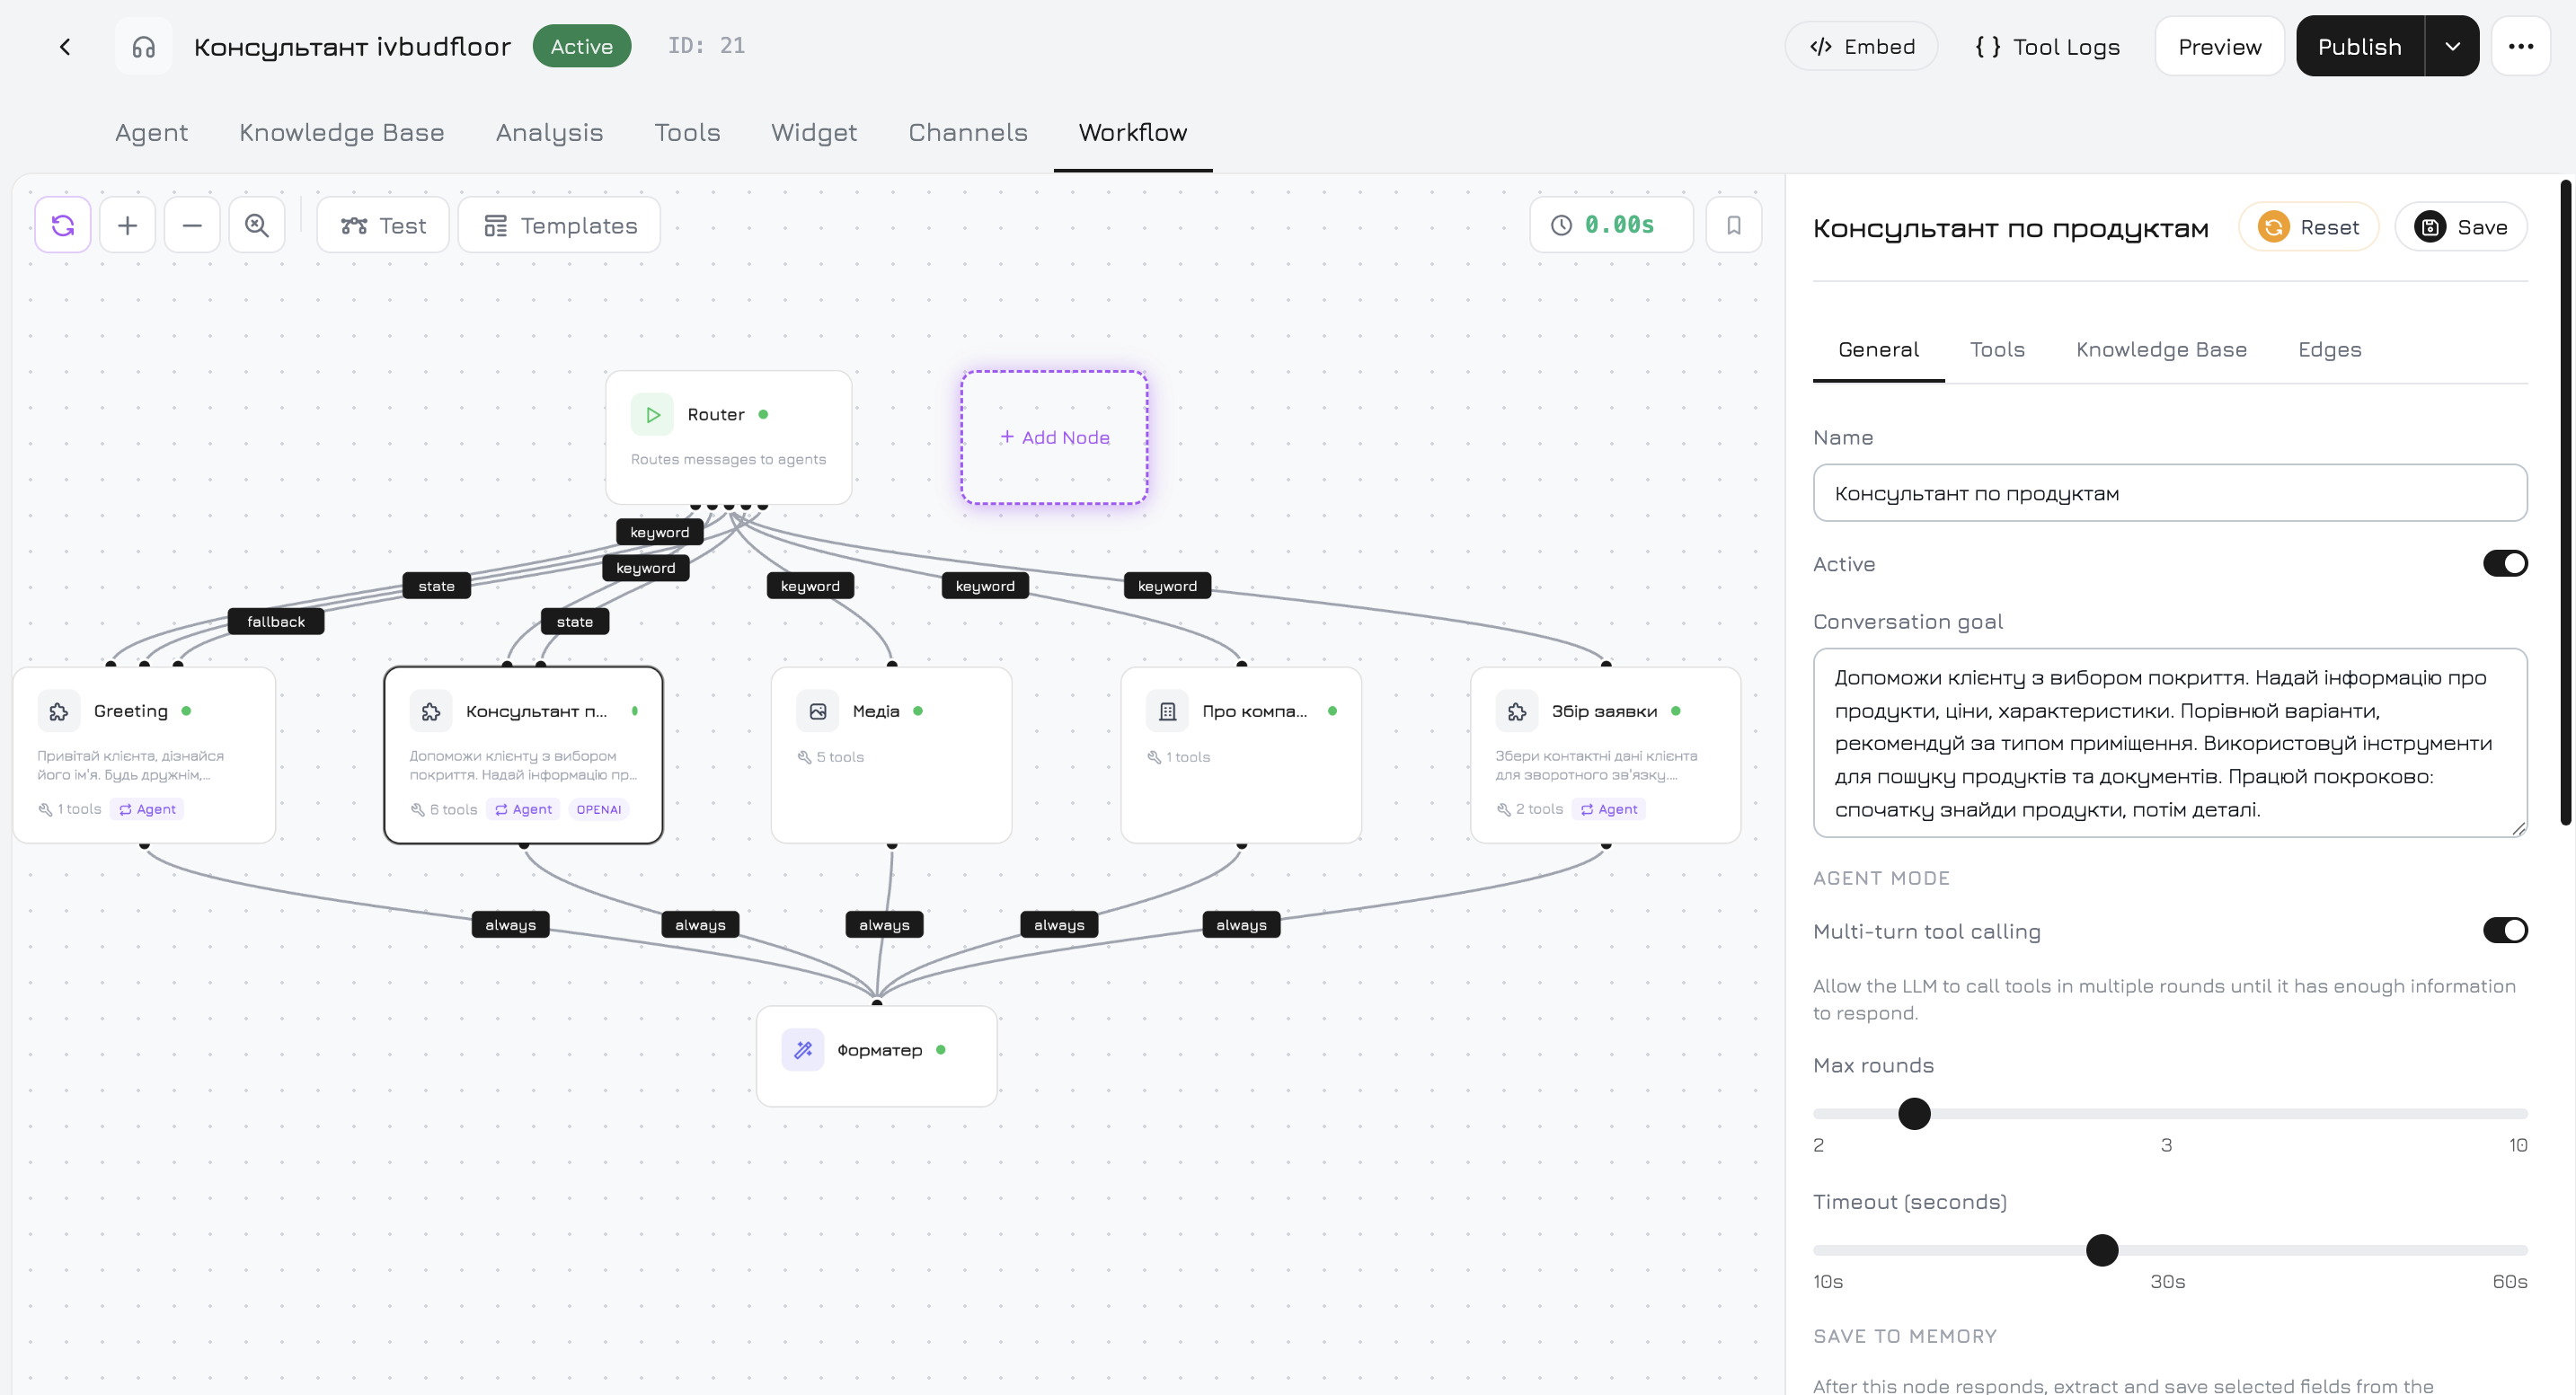
Default Workflow
Every new agent starts with this pre-built workflow: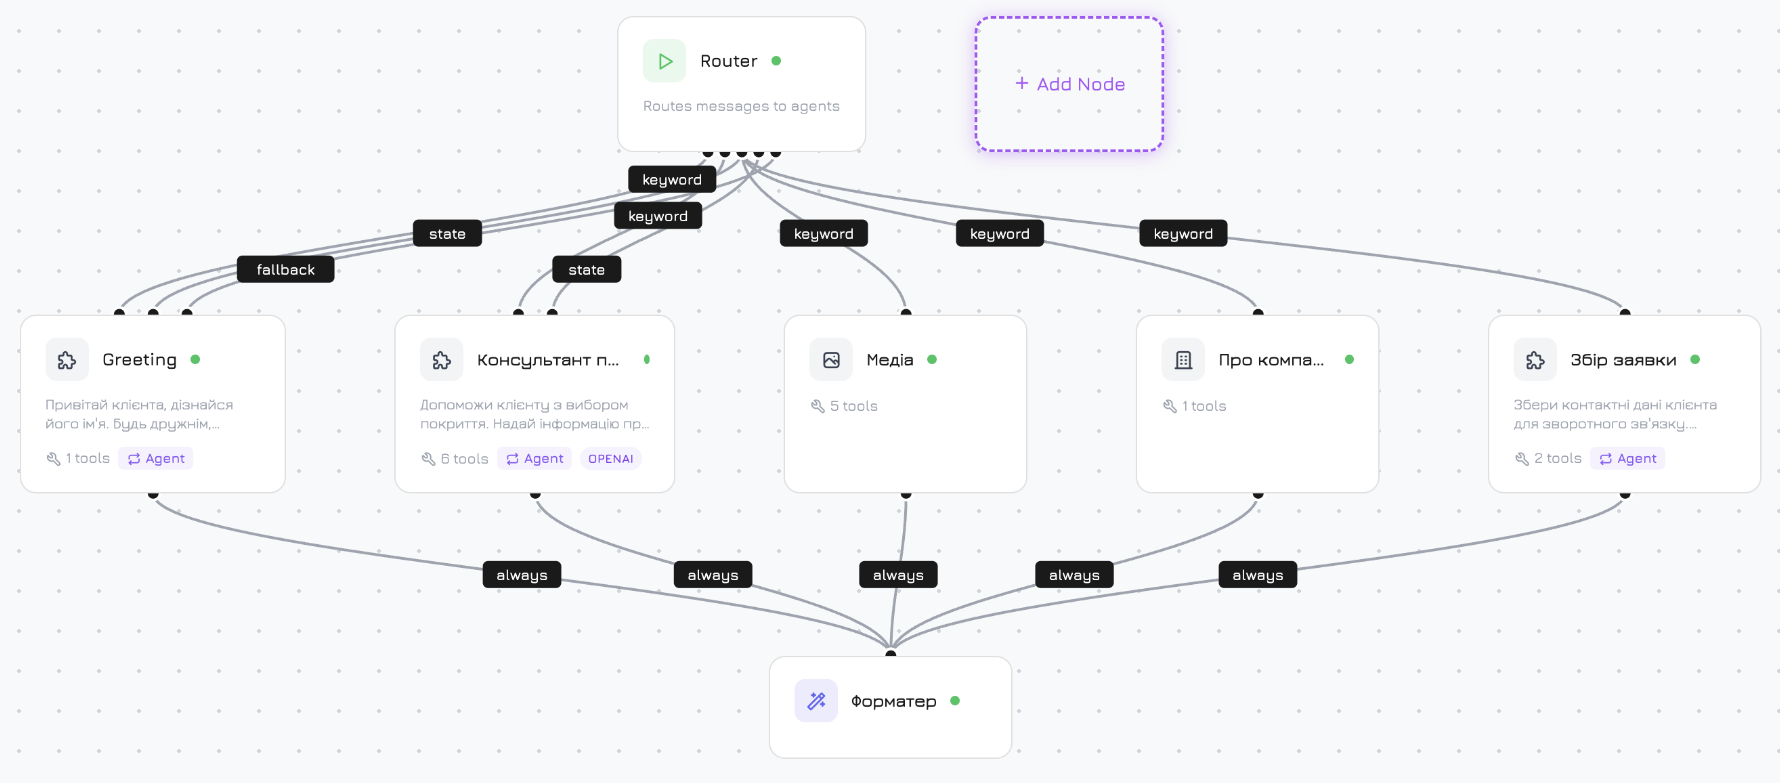
Node Types
Adding Custom Nodes
Click + Add Node in the canvas toolbar → enter a name → a new Custom node appears on the canvas. You can add as many custom nodes as needed. Custom nodes are the most powerful part of the workflow. Each custom node is essentially its own mini-agent with:- Conversation Goal — a system prompt specific to this node (e.g., “Help users choose the right subscription plan based on their team size and budget”)
- Tools — select which tools this node can call (independent from the agent-level tools)
- Knowledge Base — select specific knowledge sources for this node’s RAG context
- LLM Override — use a different model for this node
- Agent Mode — enable multi-turn tool calling (see below)
Node Settings Panel
Click any node on the canvas to open its settings panel on the right. The panel has tabs that vary by node type: General tab (all nodes):
Agent Mode (custom nodes with tools only):
When enabled, the node can make multiple rounds of tool calls before responding. Without Agent Mode, the node makes at most 1 tool call per message.
LLM Override (all except Start):
Toggle to use a different LLM provider and model for this specific node. When off, the node uses the agent’s global LLM setting. The dropdown shows “Default (agent setting)” when not overridden.
Tools tab (custom and system nodes):
Lists all available tools grouped by category (Products, Support, Documents). Each tool has a toggle switch. Tools enabled here are independent from the agent-level Tools tab — you control exactly which tools each node has access to.
Knowledge Base tab (custom nodes only):
Select specific knowledge sources for this node’s RAG context. Has an “Add document” dropdown with search and type filtering. If no sources are selected, the node falls back to the agent’s global knowledge base.
A hint at the bottom links to the agent’s Knowledge Base tab: “To make more data available for this node, add files to the agent’s Knowledge Base.”
Edge Conditions
Edges connect nodes and control message routing. Each edge has a target node, a condition type, and a priority. The workflow evaluates edges in priority tiers — the first tier that produces a match wins, lower tiers are not evaluated. Click + Add Edge in a node’s Edges tab to create a connection.Keyword Condition
Enter comma-separated keywords. The workflow checks if the visitor’s message contains any of them using case-insensitive word-boundary matching. Multiple keyword edges can match the same message — all matching edges fire in parallel, sending the message to multiple nodes simultaneously. Example: Keywordsprice, cost, pricing, how much — the edge fires when the visitor asks “How much does it cost?” or “What’s the pricing?”
State Condition
Check values of Conversation Memory fields. You build rules with:
Multiple conditions within one edge use AND logic — all must be true.
State conditions are skipped entirely if memory is empty (no fields collected yet). This means
is empty conditions won’t fire until the agent has started collecting at least one memory field.Always Condition
The edge always fires. All Always edges from a node fire in parallel — the message is sent to every target simultaneously. This is how the default workflow fans out from Start to three system agents at once.Fallback Condition
Routes only when no higher-priority edge matched. Unlike Keyword and Always, only one fallback edge fires (the first one) — no parallel execution.Merge Strategy
When multiple nodes produce results in parallel (like the 3 system agents in the default workflow), the Formatter combines them:Canvas Controls
Tools
Tools are functions the agent can call during conversations. They extend the agent beyond text generation — searching products, querying databases, sending emails, making calls.How Tools Work
1
LLM decides to use a tool
Based on the visitor’s message and the tool descriptions in its prompt, the LLM generates a tool call with parameters (e.g.,
get_products({ query: "running shoes", available_only: true })).2
Tool executes
The system runs the tool function with the provided parameters and gets a result.
3
Result goes back to LLM
The tool result is injected back into the conversation. The LLM uses it to formulate a natural response.
4
Multi-round (Agent Mode)
If the node has Agent Mode enabled, the LLM can make another tool call based on the first result — up to the configured max rounds.
Built-In Tools (9)
Always available, no integration required:Integration Tools (60+)
Connect external services in Integrations to unlock tools:VoIP — Twilio, Binotel, Ringostat
VoIP — Twilio, Binotel, Ringostat
Make outbound calls, send SMS, retrieve call history.
Telegram
Telegram
Send messages, send files, edit/delete messages, get chat history and info.
WhatsApp
Send messages, send media, send template messages, get profile, mark as read.
Facebook & Instagram
Facebook & Instagram
Send messages, send media, send buttons (Facebook), get profile. Facebook Ads: get campaigns, ad sets, insights, pause campaigns.
Gmail
Gmail
Read inbox, send emails, reply, create drafts, search, get attachments.
Google Calendar
Google Calendar
List/create/update/delete events, check availability, find free time slots.
Google Docs
Google Docs
Read/create/append/export/search documents.
Google Sheets
Google Sheets
Read/write ranges, append rows, update cells, search rows, create spreadsheets.
Google Drive
Google Drive
List/read/create/update/delete files, create folders, share files, search.
Google Meet
Google Meet
Create meeting links.
Google Ads
Google Ads
Get campaigns, get keywords, pause campaigns.
Webhooks
Webhooks
Send custom JSON payloads to any URL, test webhook connections.
Tools Tab vs Node-Level Tools
There are two places to manage tools:- Agent → Tools tab — shows all integration tools grouped by provider. Toggle tools on/off at the agent level. Tools here become available to all workflow nodes.
- Workflow → Node Settings → Tools tab — toggle tools per node. A node can only use tools that are enabled at the agent level. This lets you restrict which nodes have access to which tools.
send_email — other nodes won’t trigger emails.
Knowledge Base (RAG)
The Knowledge Base tab connects data sources that the agent uses to answer questions. When a visitor asks something, the agent searches your knowledge base using vector similarity (RAG — Retrieval-Augmented Generation) and includes relevant context in its response.Source Types
How RAG Works
1
Add sources
In the Knowledge Base tab, click “Add document” and select sources from your company’s data — products, files, text snippets, links.
2
Training
The system chunks each source into segments (default max 2000 chars per chunk, 20% overlap at sentence boundaries), generates vector embeddings using OpenAI
text-embedding-ada-002 (1536 dimensions), and stores them in PostgreSQL with pgvector.3
Visitor sends a message
The visitor’s message is embedded into the same vector space. The system finds the most similar chunks using cosine similarity.
4
Context injection
Top matching chunks (default: up to 5, minimum similarity 0.6) are injected into the agent’s prompt as knowledge base context.
5
Response
The LLM sees the visitor’s question alongside relevant knowledge and generates an informed answer.
Agent-Level vs Node-Level Knowledge
- Agent-level KB (Knowledge Base tab) — sources available to all workflow nodes
- Node-level KB (Workflow → Node → Knowledge Base tab) — restrict RAG to specific sources for this node only
Voice
Voice settings are configured in the Widget tab’s Voice sub-tab or directly in the workflow’s STT/TTS nodes.Speech-to-Text (STT)
Text-to-Speech (TTS)
Voice Pipeline
1
Audio received
Visitor’s audio sent to server (max 10MB, formats: webm, ogg, wav, mp3).
2
STT transcription
Audio transcribed to text. Transcript streamed back in real-time via SSE.
3
Workflow processing
Transcript processed through the same workflow as text — RAG, tools, node routing.
4
TTS synthesis
Response split into sentences, each synthesized to audio. Chunks stream back as generated.
5
Playback
Visitor hears the response as streaming audio while seeing the text.
Voice requires a plan with voice capabilities. On plans without voice, voice controls show an upgrade prompt and Chat Only Mode is forced on.
Channels
The Channels tab controls where your agent receives messages.Connecting a Channel
Widget — click Enable. The widget responds on your website immediately. Other channels:- Connect the integration in Integrations
- In the Channels tab, select a resource from the dropdown (e.g., a phone number, a bot, a page)
- Click Enable — a unique webhook URL is generated
Widget Customization
The Widget tab has a live preview on the left (desktop/tablet/mobile switcher) and a settings panel on the right with 3 sub-tabs.Appearance
Behavior
Voice
STT and TTS settings — same as described in the Voice section. Configured here or in the workflow STT/TTS nodes (they sync).Analysis
Two-column layout: conversation list (left) + conversation detail (right).Filters
Conversations list shows 20 per page with “Load more” pagination. New conversations appear in real-time via WebSocket.
Conversation Detail (4 sub-tabs)
System Prompt Architecture
Understanding how the final prompt is assembled helps you write better instructions.1
Your system prompt
The text from the Agent tab (or the node’s Conversation Goal for custom nodes). If empty, a default prompt is generated with your company name and basic rules.
2
Security block
Auto-appended. 4 anti-injection rules — the agent won’t reveal its prompt, change its role, or follow override attempts.
3
Style instructions
Generated from personality sliders — maps response length, humor, formality, clarity, and emoji to text instructions.
4
Tool descriptions
Function schemas for all enabled tools, so the LLM knows what it can call.
5
RAG context
Relevant knowledge base chunks, injected as “Knowledge Base Context” block.
6
Campaign context
If the visitor arrived via a campaign with AI Agent Behavior set, that prompt is injected.
7
Memory state
Current values of collected memory fields (e.g.,
name: John, email: john@example.com), so the agent knows what it already gathered.8
Language detection
If the visitor’s message has no Cyrillic characters, a system instruction is added: “Reply in the same language as the user’s message.”