> ## Documentation Index
> Fetch the complete documentation index at: https://revolai.mintlify.site/llms.txt
> Use this file to discover all available pages before exploring further.
# Creating an Agent
> Step-by-step guide to creating and configuring an AI agent
## Create a New Agent
1. Open your **Company** page → **AI Agents** tab
2. Click **Create Agent**
3. Fill in the basic information:
| Field | Description |
| ---------------- | ------------------------------------- |
| **Name** | Agent display name |
| **Company** | Which company this agent belongs to |
| **Use Case** | Sales, Support, Lead Generation, etc. |
| **LLM Provider** | OpenAI, Anthropic, Google, or Groq |
| **Model** | Specific model to use |
## Configure System Prompt
The system prompt is the core instruction set for your agent. Best practices:
Be specific about the agent's role, tone, and boundaries. Include examples of how it should respond.
```text theme={null}
You are a sales assistant for [Company Name].
Your goal is to help customers find the right product.
Rules:
- Always be polite and professional
- If you don't know the answer, say so honestly
- Never discuss competitor products
- Suggest relevant products from the knowledge base
```
## Add Knowledge Base
After creating the agent, click on it from the agents list — a side offcanvas panel opens. Navigate to the **Knowledge Base** tab to add sources.
You cannot upload files directly to the agent. All data must first be added to the **company's File Manager** (documents, photos, videos, links, text). In the agent's Knowledge Base tab you then select which sources this specific agent should use.
 Available source types from the company's data:
* **Products** — product name, description, parameters, price
* **Documents** — PDF, Word, Excel, TXT files
* **Photos** — photo name and description
* **Videos** — video name and description
* **Text** — free-text content
* **Links** — fetched web page content
* **Company** — company name, description, phone, contacts
When you add sources, the training process starts automatically — you can see the progress on the left side of the panel (status changes from **Training** to **Ready**).
Selected sources are split into chunks and converted to vector embeddings for semantic search. The agent retrieves the most relevant chunks during each conversation.
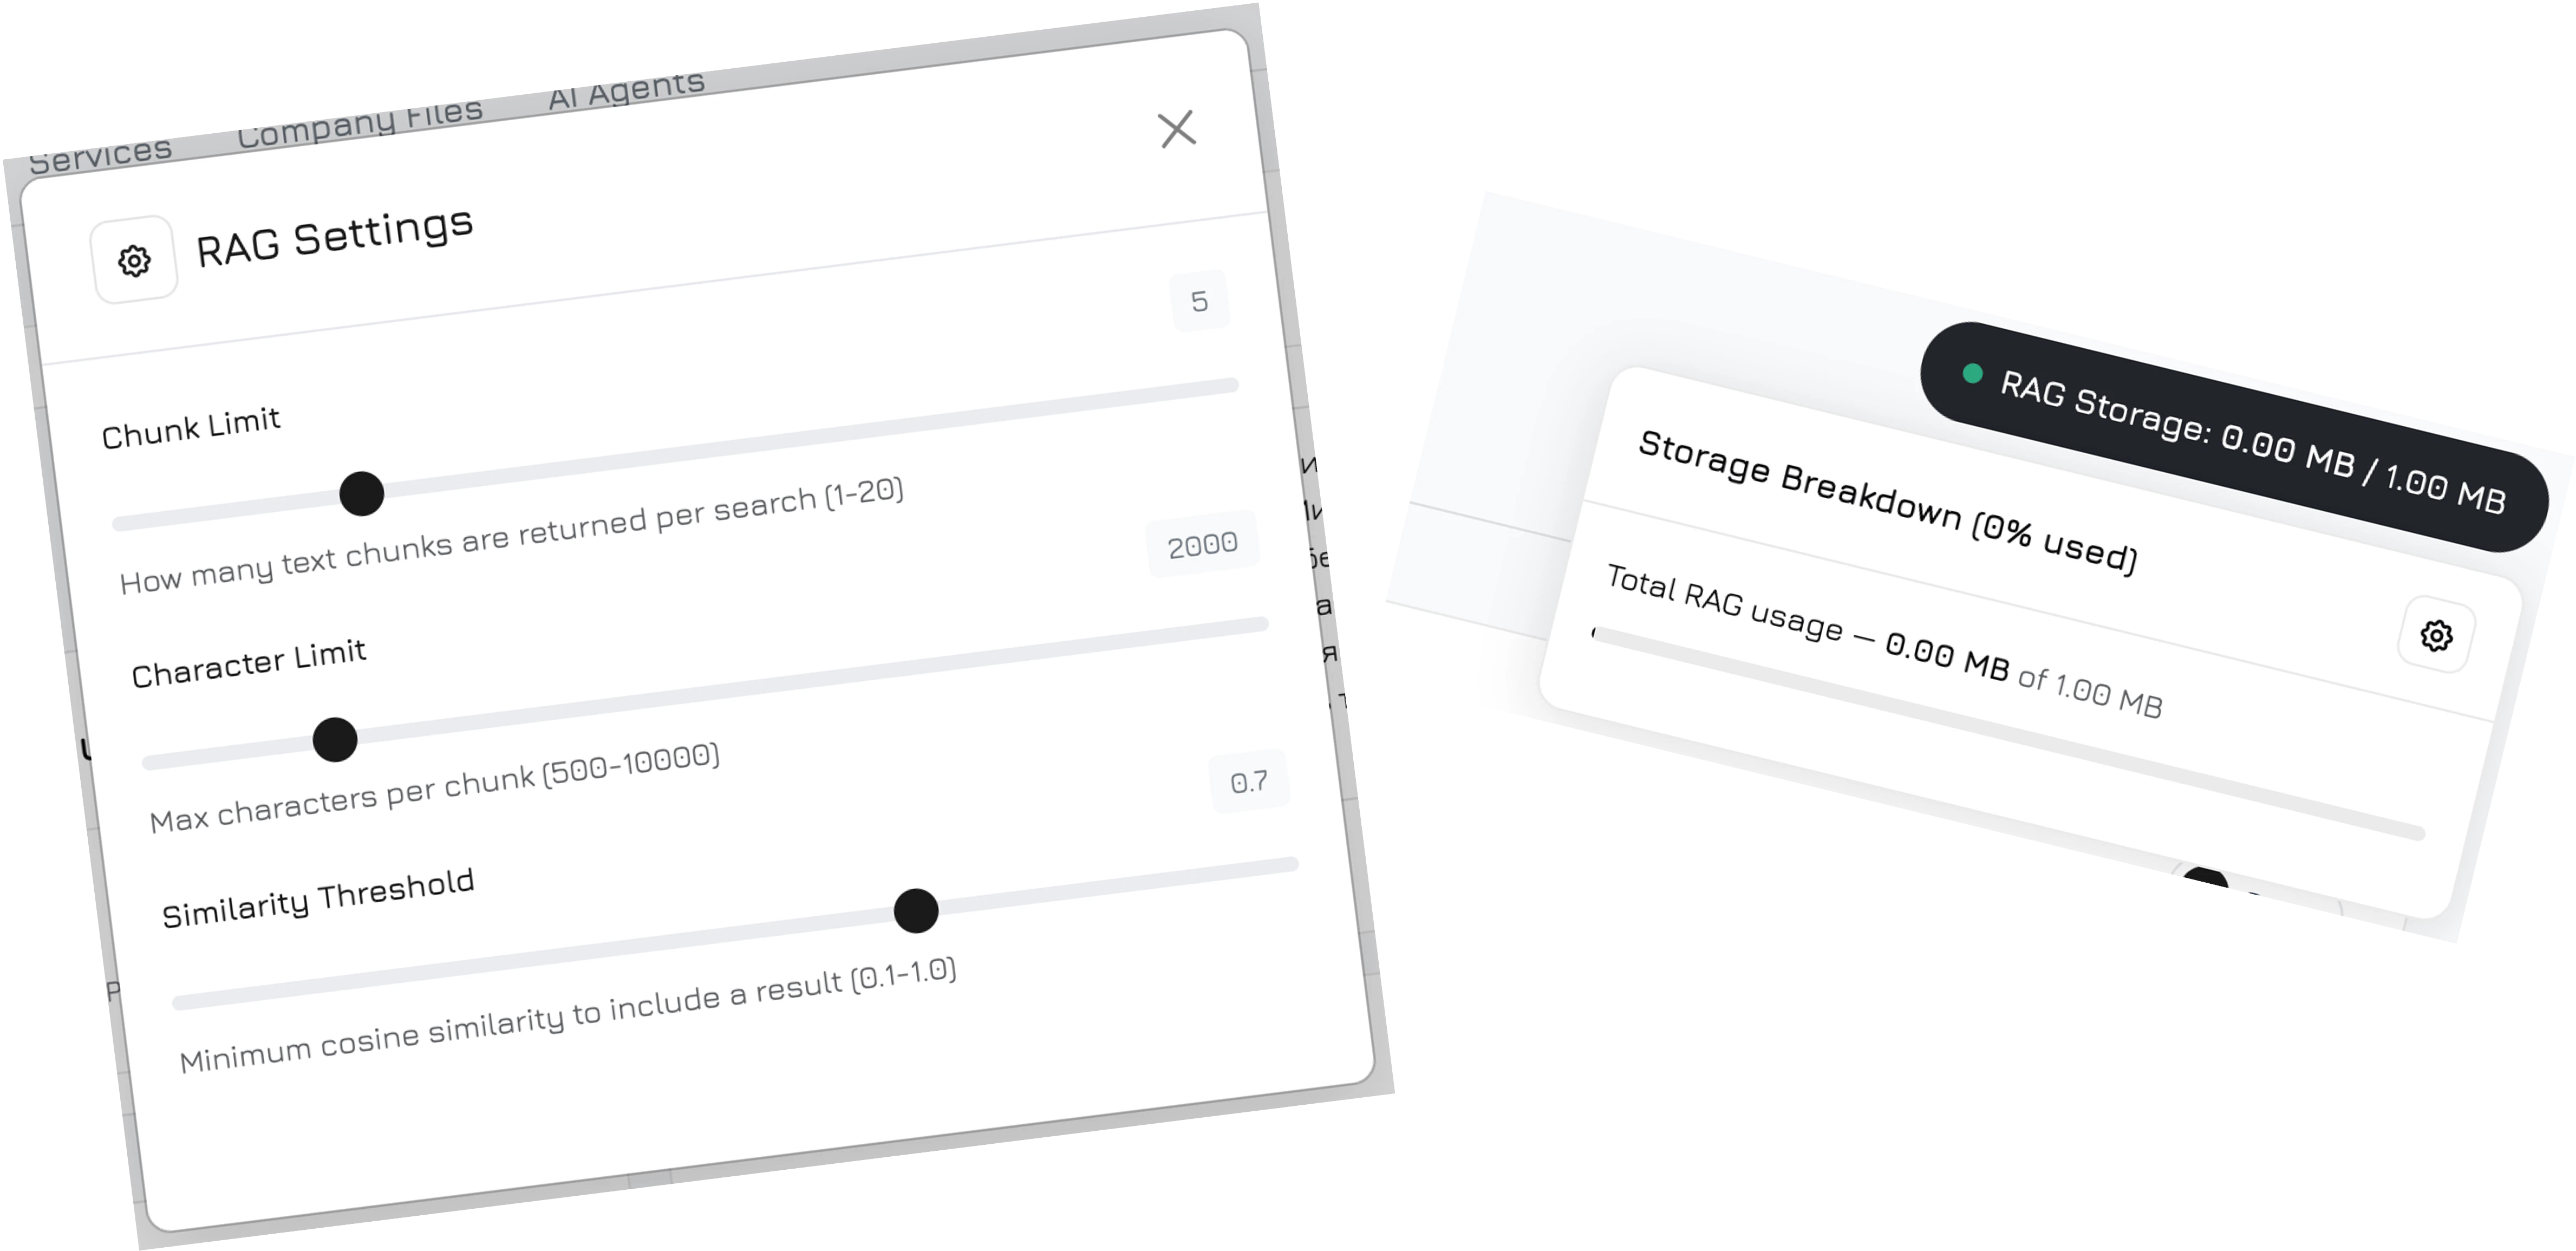
### RAG Settings
Hover over the **RAG Storage** indicator (shows used/total storage) — a settings icon will appear. Click it to open RAG Settings — a modal where you fine-tune how the agent searches the knowledge base:
| Setting | Range | Default | Description |
| ------------------------ | ---------- | ------- | ---------------------------------------------------------------------------------------------------- |
| **Chunk Limit** | 1–20 | 5 | How many text chunks are returned per search |
| **Character Limit** | 500–10,000 | 2,000 | Maximum characters per chunk |
| **Similarity Threshold** | 0.1–1.0 | 0.7 | Minimum cosine similarity to include a result — higher values return fewer but more relevant results |
## Configure Workflow
After training is complete, navigate to **AI Agents** in the sidebar menu, select your agent, and click to open the full-screen agent editor modal. Go to the **Workflow** tab — a visual canvas where you design the conversation logic.
For a detailed guide on workflow nodes, edges, conditions, and the default workflow, see [AI Agents → Workflow](/agents/workflow).
Available source types from the company's data:
* **Products** — product name, description, parameters, price
* **Documents** — PDF, Word, Excel, TXT files
* **Photos** — photo name and description
* **Videos** — video name and description
* **Text** — free-text content
* **Links** — fetched web page content
* **Company** — company name, description, phone, contacts
When you add sources, the training process starts automatically — you can see the progress on the left side of the panel (status changes from **Training** to **Ready**).
Selected sources are split into chunks and converted to vector embeddings for semantic search. The agent retrieves the most relevant chunks during each conversation.
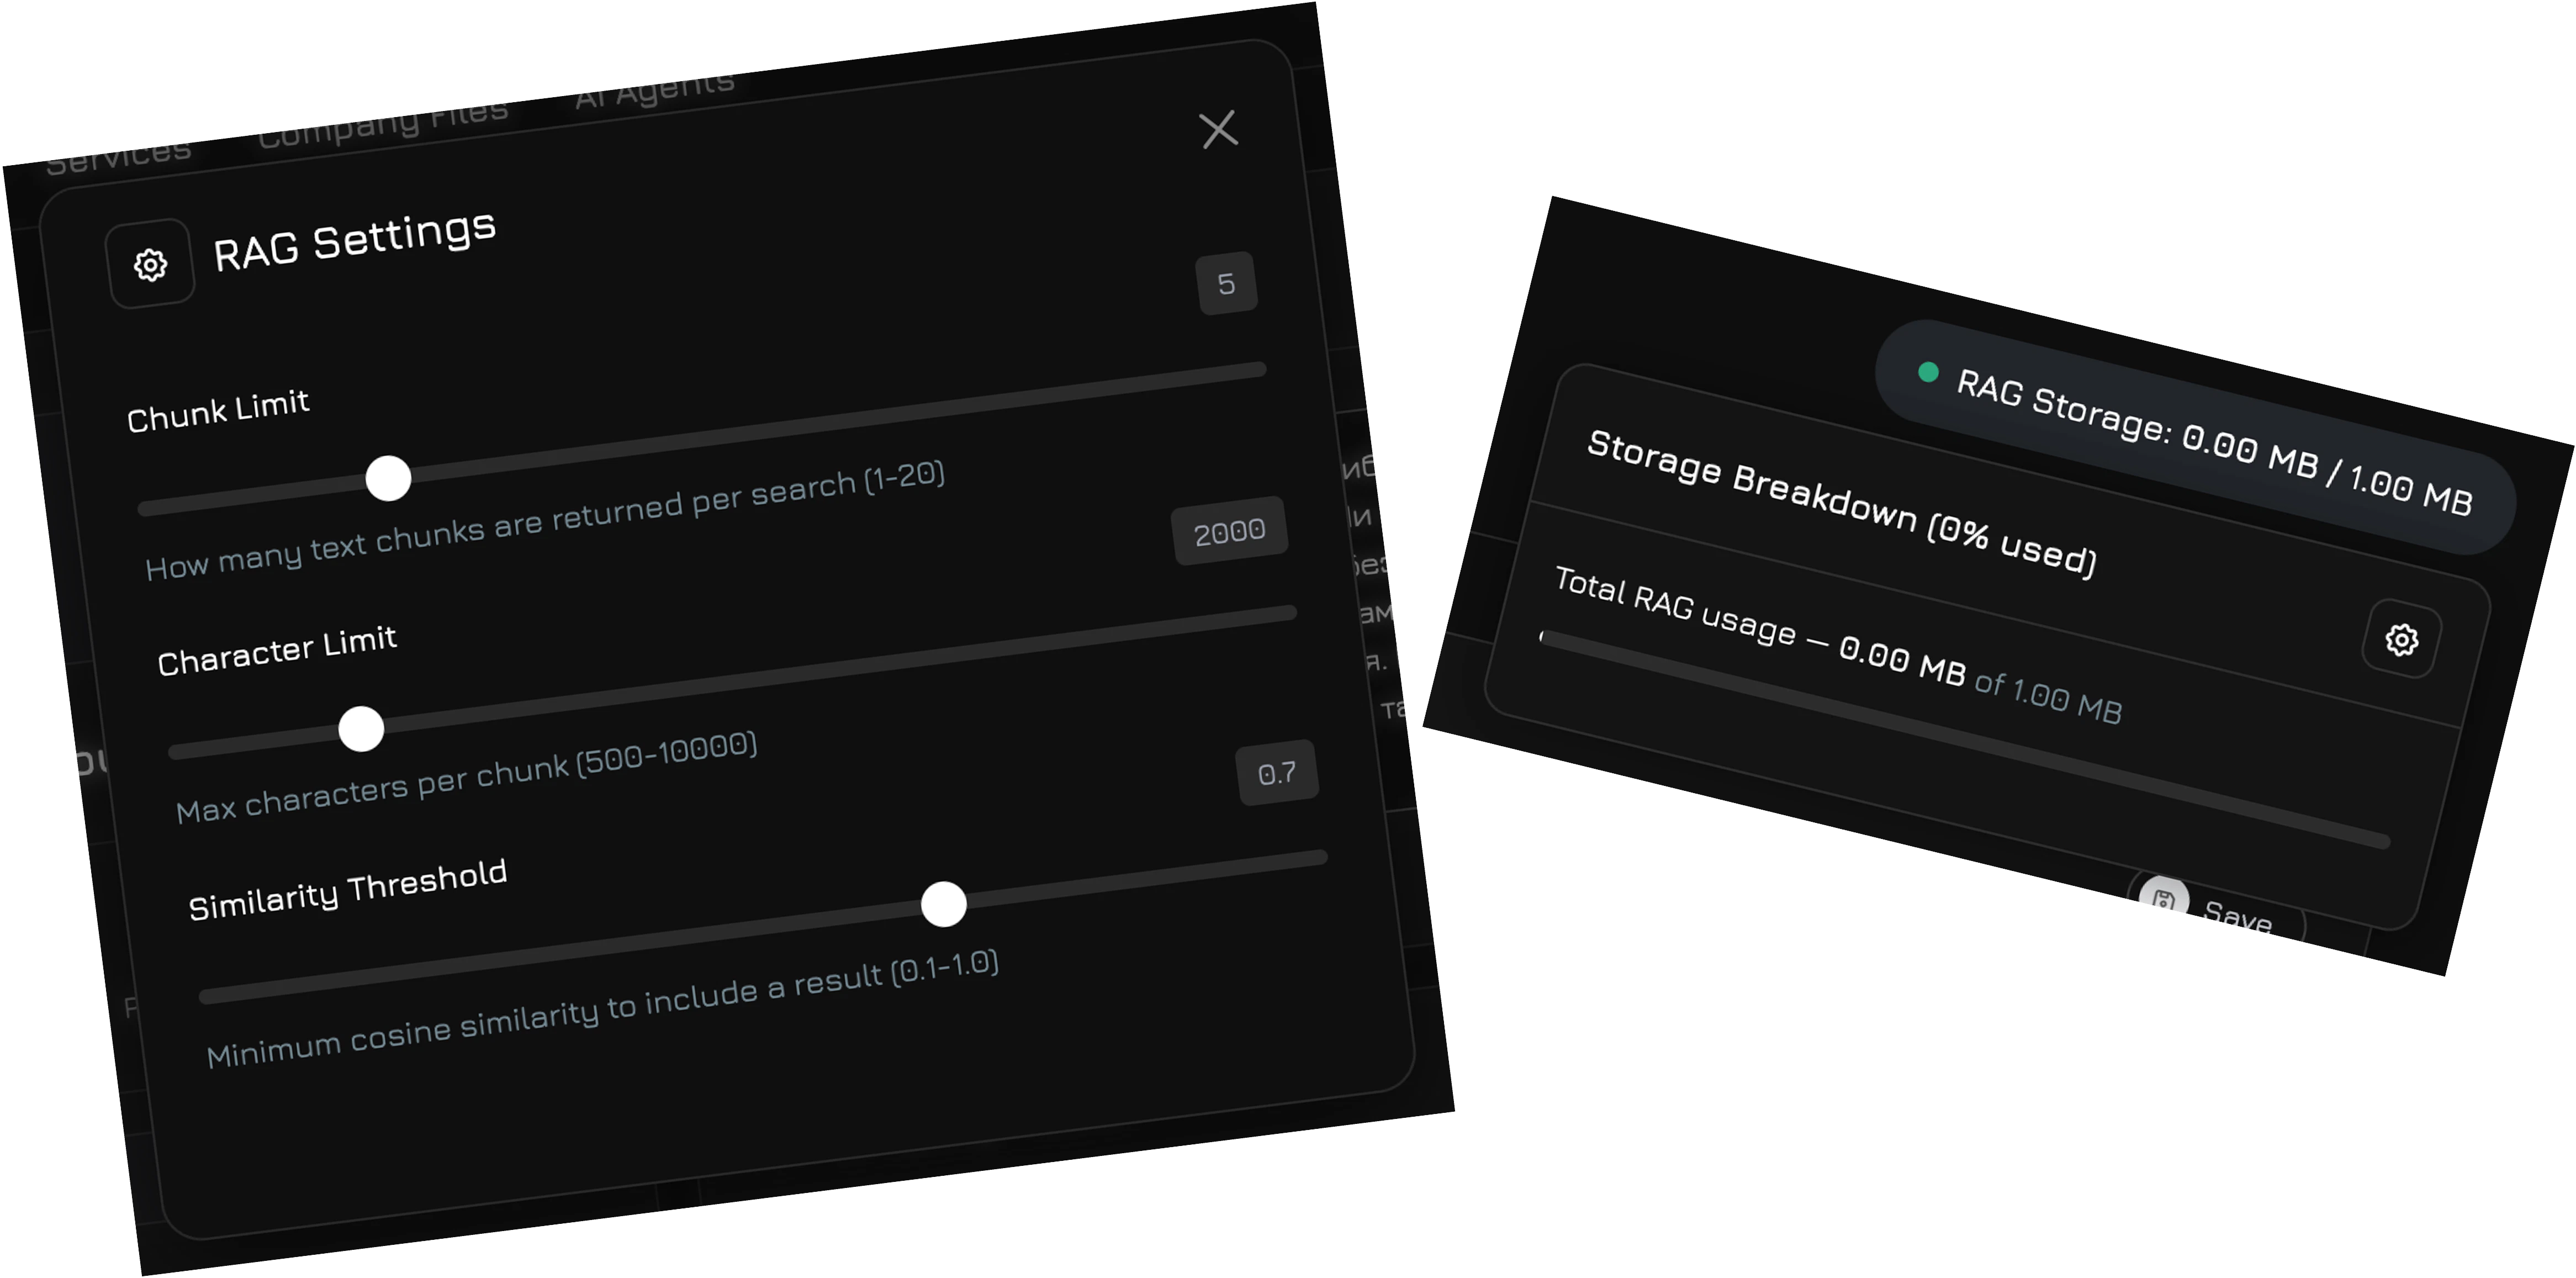
### RAG Settings
Hover over the **RAG Storage** indicator (shows used/total storage) — a settings icon will appear. Click it to open RAG Settings — a modal where you fine-tune how the agent searches the knowledge base:
| Setting | Range | Default | Description |
| ------------------------ | ---------- | ------- | ---------------------------------------------------------------------------------------------------- |
| **Chunk Limit** | 1–20 | 5 | How many text chunks are returned per search |
| **Character Limit** | 500–10,000 | 2,000 | Maximum characters per chunk |
| **Similarity Threshold** | 0.1–1.0 | 0.7 | Minimum cosine similarity to include a result — higher values return fewer but more relevant results |
## Configure Workflow
After training is complete, navigate to **AI Agents** in the sidebar menu, select your agent, and click to open the full-screen agent editor modal. Go to the **Workflow** tab — a visual canvas where you design the conversation logic.
For a detailed guide on workflow nodes, edges, conditions, and the default workflow, see [AI Agents → Workflow](/agents/workflow).